How to build a one page WordPress site in less than an hour using the Astra theme and Stackable blocks
This video shows you how to quickly get a simple yet stylish one-page website up and running in under an hour using a combination of the Astra theme and the Stackable Gutenberg Blocks plugin. The video below walks you through the entire process, step-by-step, from a blank WordPress install to a finished website, and there are written instructions below the video as well.
Install WordPress on your domain
This tutorial assumes that you already have a domain and hosting and you have WordPress installed on your domain.
Reading: How to create a one page website with astra
- We have information on how to buy a domain and arrange hosting here in this blog post.
- We have a video demo of the WordPress installation process on your domain here
Installing the Astra Theme and Required Plugins
Once you have WordPress installed, the next step is to install Astra, which the theme is where we use this demo. You can either download the theme directly from the developers website here or install it directly from your WordPress backend.
To do this:-
- Go to the “Appearance” menu on the left side of your admin panel and select “Themes”
- Click on “Add new”. Button in the top-right corner next to the Themes heading
- In the Themes search box, search for Astra
- Click Install, then click Activate
- You have now switched from the default WordPress theme to the Astra theme
We use two plugins for this project, which you install at the beginning should. To do this:-
- Go to the Plugins menu on the left side of the admin panel and select Add New
- The process for finding and installing plugins is the same like the process you just used to install your theme.
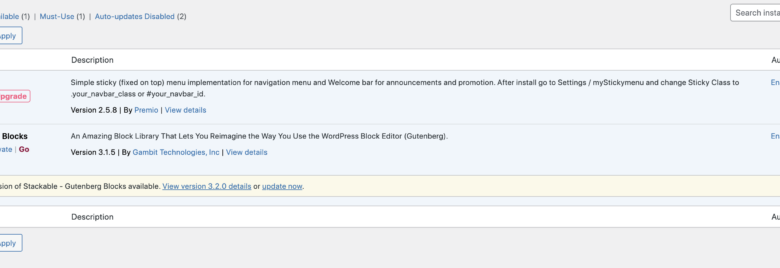
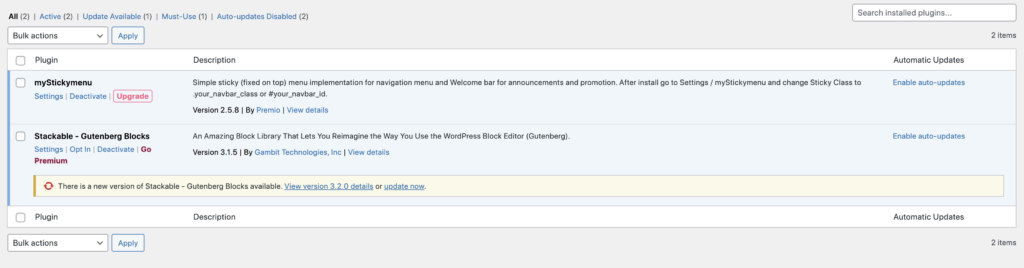
- Find, install and activate the Stackable – Page Builder Gutenberg Blocks plugin and the myStickyMenu
plugin You should then have two plugins installed as in the image below.
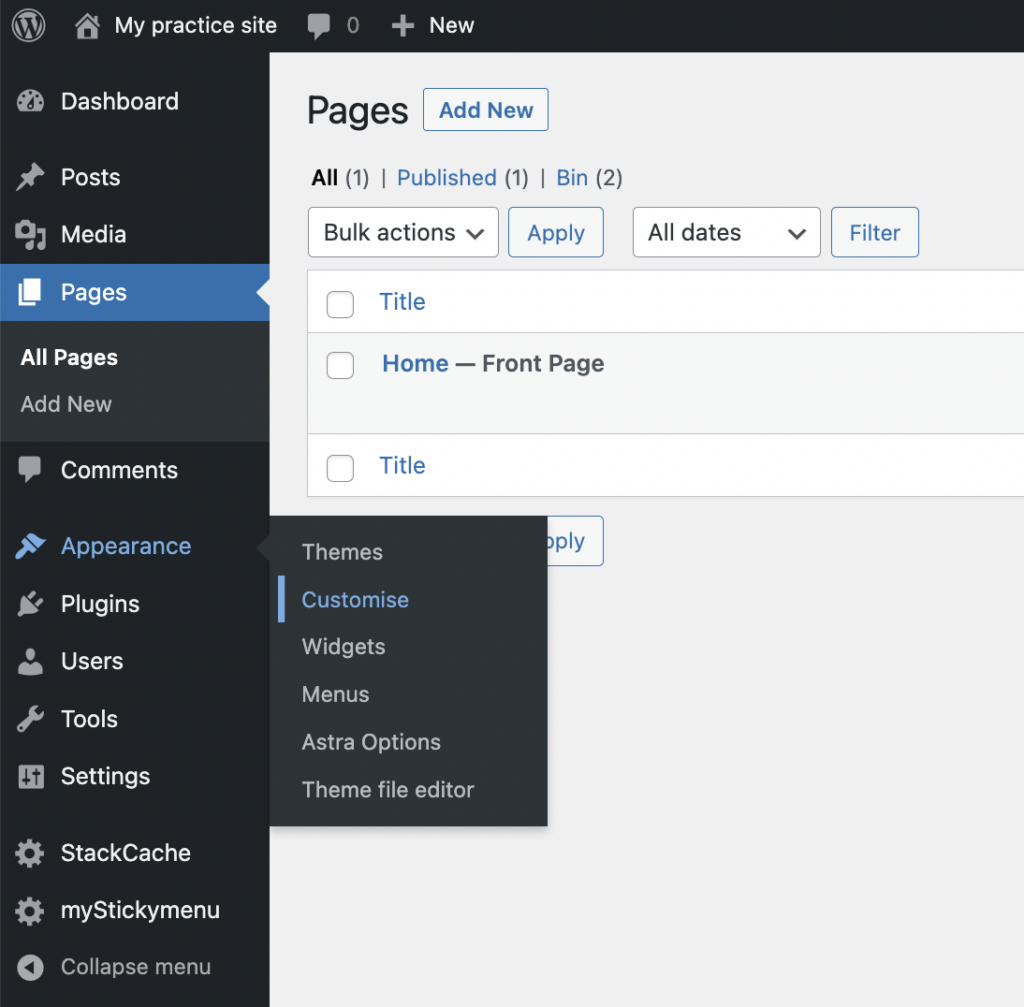
Creating Your Page
You should now go to the Pages menu on the left side of your admin panel and click All Pages. You’ll see that WordPress has already set up some default pages for you, which you can delete as you won’t be using them for this project.
Check the box next to each page’s name, then open the Bulk Actions menu and select Move to Trash.
Next you need to create a new page. At the top, next to the Pages heading, click the Add New button. A blank page will open with a blinking cursor in the Add Title field. Title your page “Home” and click the “Publish” button in the top right corner.
Use the theme customization options to manage the look and feel of your page
Make sure you’ve published your page. Now go to the Appearance menu on the left side of the admin panel and select Customize.
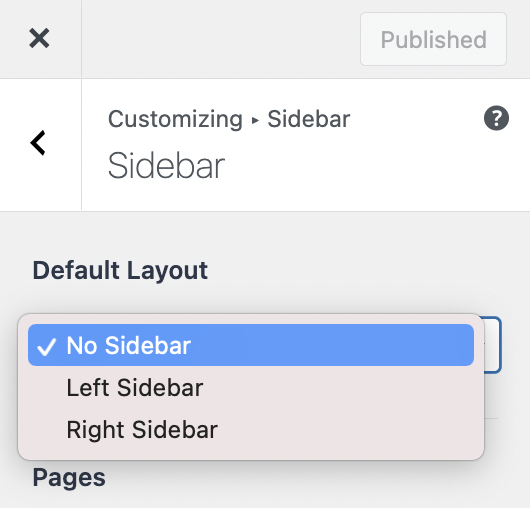
Remove Sidebar
Click the Sidebar option and then use the drop-down menu to change your default layout to No Sidebar. Publish this change by clicking the Publish button, then use the < arrow to return to the general customization options.
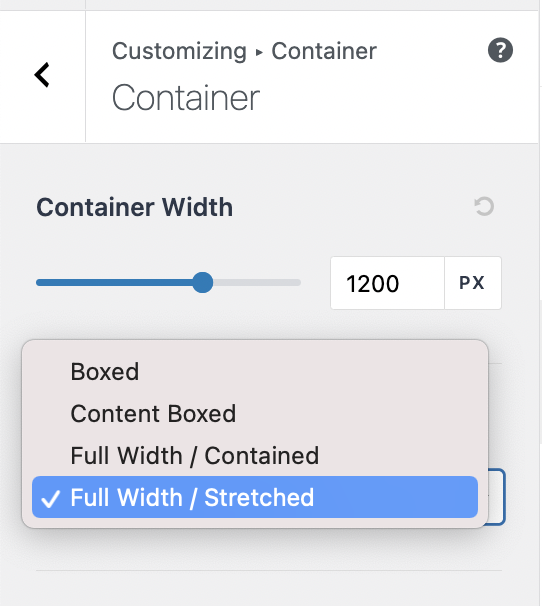
Make the page full width
Go to the Global menu and then select Container. Then use the drop-down menu to change the layout to Full Width/Stretched. Publish this change, then use the < arrow to return to the general customization options.
Add your logo to the header
From the Customize menu, choose Header Builder, then Site Title and Logo.
Click Choose Logo. This will open your media library. If your logo is already here, just click on it and then click Select. Crop the image if needed, or just click Skip Crop if it’s ok the way it is. Use the Logo width slider to adjust the size of the logo.
If you need to upload your logo, go to the Upload files tab in the media library and then click Choose files. Find the logo on your computer and upload it. This is also a good opportunity to upload other images that you would like to use for this project.
If you don’t already have suitable images, we recommend Unsplash as a good source for high-quality, royalty-free images. There’s also a plugin called Instant Images that lets you upload images from Unsplash directly to your website. We have a video guide on how to use it here.
If you have a favicon, you can use the same process to load it from the Site Icon section at the bottom of the Logo section. You can use the “Show Site Title” toggle to toggle your site title on or off and prevent it from showing in your header if you want, and you can also change the site title wording if you so wish.
Setting Your Home Page
The last change you need to make in the Customize section is to tell WordPress that the page you just set up and the name “Home” carries, in fact, your home page is book page. To do this, go to the Home page settings options at the bottom of the Customize menu.
By default, your Home page is set to show your most recent posts. You should change this so that your home page displays a static page. Then click the dropdown menu under Home and select Home.

Click publish and then click the cross in the top left corner to exit the customization options.
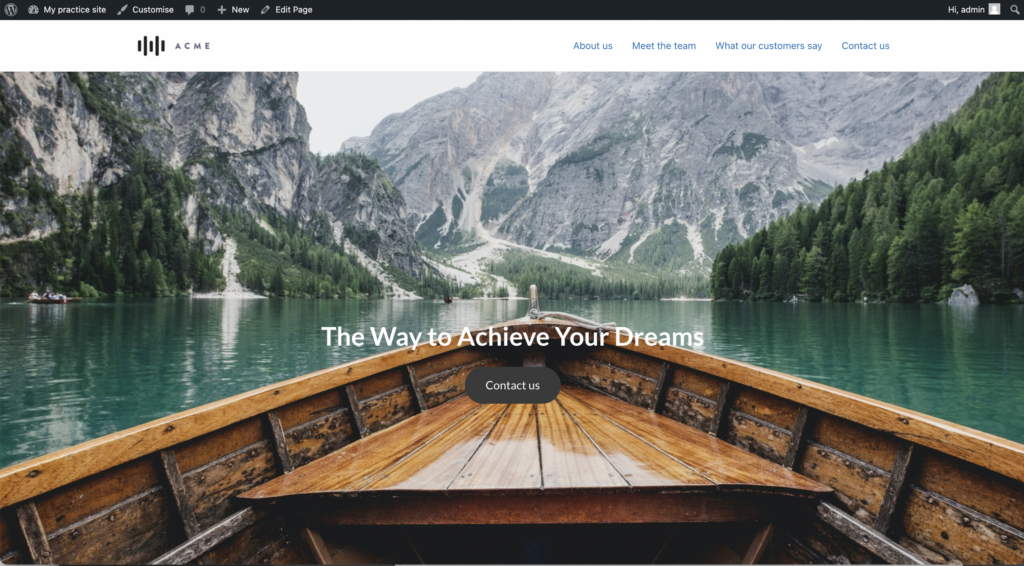
Adding a Header
The next step is to add content to your page, starting with the header as shown in the image below.
Hover over the + button in the top left corner and click to add a new block.
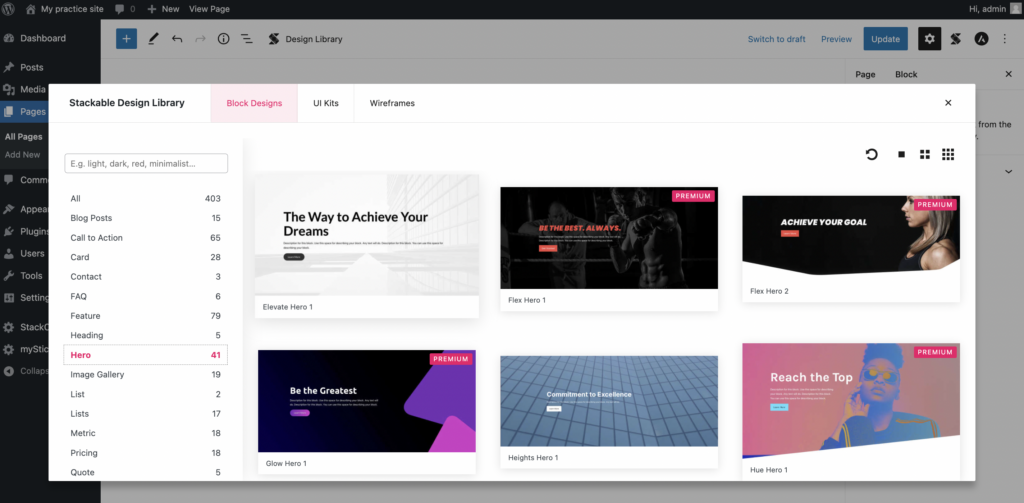
You will be presented with a list of possible blocks to add. Scroll down this list until you get to the ‘Stackable’ section, select Theme Library from the options and then click Open Theme Library.
See also: Get started with WordPress
Here you can see all the different types of pre-made blocks available for are available to add to your page. It’s worth playing around with the options here to see what you like. You certainly don’t have to stick to the blocks we’re using for this demo.
The menu on the left shows you the different categories of blocks that are available. Click on Hero. You can see that some are marked as Premium – you need a paid Stackable account to use these – but the others are all free to use.
For this demo we’re using Elevate Hero One (scroll down to see it) – just click on it and it will be automatically installed on your site.
You can then use the blocking options on the right side of the page to customize aspects of that block’s appearance.
- In the block settings, click the drop-down arrow next to the background menu item and scroll down where you can see the background image or video. Click the image. This will open your media library from which you can either select an image you already have or upload a new one to use. You can also use a video as the background if you wish.
- Use the background media tint strength slider to decrease the strength of the tint over the background image if needed.
- To achieve the parallax effect, where the image freezes when the user scrolls down the page, turn on the Fixed background switch.
To only include the words in the title and description edit Click the cursor in the area you want to edit and make the desired changes to the wording. Once you’ve clicked your cursor on the next heading to edit, you’ll see some styling options for that heading both above the block and on the right side of your page.
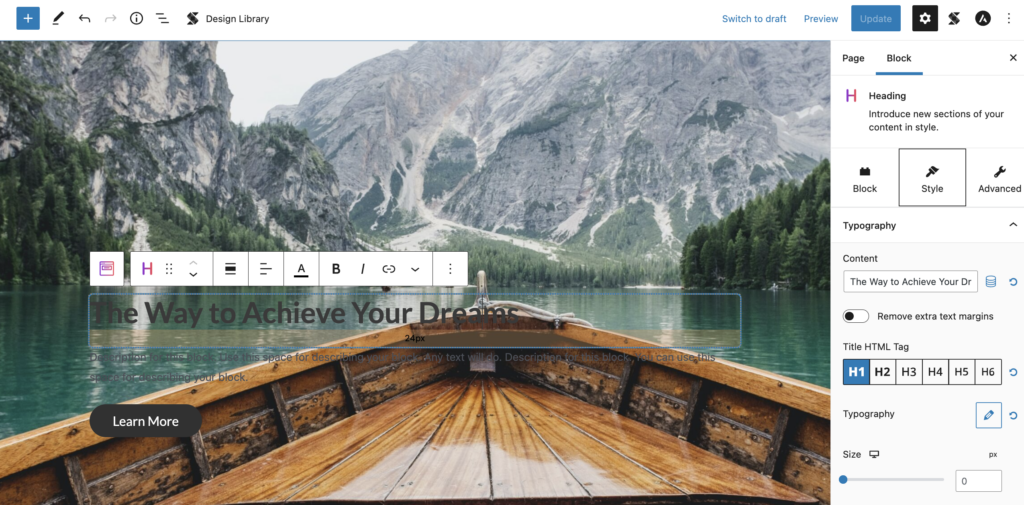
The options above the heading allow you to change the text alignment (left, center or right) as well as add some basic styles like bold or italics. You can change the wording by simply typing over it or in the content area on the right. In the options on the right, scroll down and you’ll find Text Color, where you can change the color of your heading to better match your image. In this example we have centered the text and set it in white.
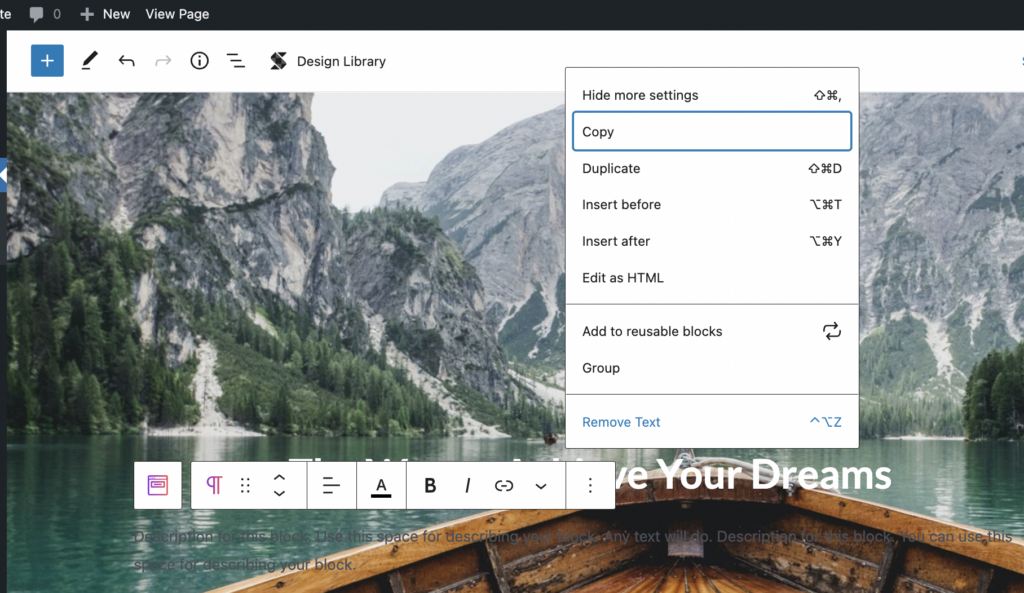
Under the main heading you will see that you have a paragraph of text. You can change the content here and style it however you like using the same method as for the headline above, or you can remove it altogether if you don’t need it. To do this, click anywhere on the text. The styling options appear above the text. Click the three vertical dots on the right side, then choose Remove Text from the options that appear.
Click the button text and change the wording to Contact or something similar.
When people click the button, you can set it to send an email, so instead of entering a URL as the link, use a mailto link like in the image below. If you want the button to redirect people to another page, enter the page’s URL in the Link field.
You can also use the settings on the right here to change the button color and the color of the text if you wish.

If you like the center of the button on your page, then click to the right of the button so you’re in the button group block and not the button block itself. You can then either use the options above the button group or on the right side to change the button alignment as shown in the image below.

The final change you need to make is to tell WordPress not to display the word Home at the top of the page. To do this, you need to click on the Astra settings icon in the top right corner (see image below) to see the settings that apply to the entire page, not just the block you are in, and then scroll down below and in Page Elements toggle Disable Title so it’s on.
Make sure you’ve saved all your changes by clicking the Refresh button in the top right corner. Note that when you save your changes for the first time, this button says Publish. It will switch to Refresh once your page is already published. To view your page after saving, click Preview. This will open your page in a new tab so you can easily switch between the backend where you make changes and the frontend where you can see the effects of those changes.
Adding What We Do Section
Either move your mouse under your first block until you see the + Add Block icon or click the + Add Block icon at the top left Corner. Both options add a new block below your new heading block. Once again, you should select the Stackable Design Library. This time you’ll add a feature grid. Click Feature and scroll down until you see Feature Grid Block / Heights Feature 2. Click on it to put it on your page.

This block works on the same principles as the header block you just installed. On the right side of the page are block options that allow you to customize aspects of the block’s appearance, and you can also click directly on some of the block’s elements to edit them. If you still see the Astra page settings on the right side of the page, you should click the star in the top right corner to switch from the Astra settings to the blocking settings.
- Click on the headline text at the top of the block and change it to Read more about what we do or whatever you like.
- Change the description text under the heading in the same way. You can also remove items if you are not going to use them.
- I removed all buttons in my example below because this is a one-page website, so there are no other pages to link to. To do this, I clicked next to each button and selected Remove button group from the options. It’s important to click next to the button and not on the button itself if you want to do this.
- To add the shadow behind each of the sections, click on the top of each column. This will show you the settings for the columns. In the style settings go to container borders and shadows and slide the shadow/outline slider to 5.

- Make sure you are happy with your changes are you click refresh.
Add your “Meet the Team” block
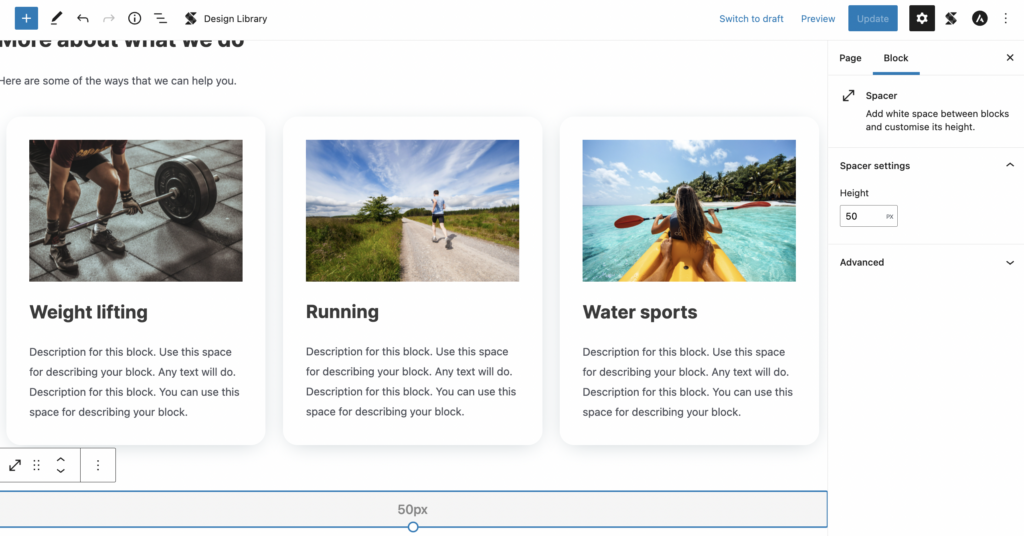
Before adding the next block, let’s add a spacer block to give some space between our blocks to accomplish. To do this, click the + button at the bottom of the page and type spacer in the search box. Choose the first option. By default, 100 pixels of space is inserted, but you can change this to more or less depending on your preferences. Here I’ve added 50 pixels of space.
WordPress allows you to embed one block inside another (which is essentially the Stackable block above). For the meet-the-team block, we will do that.We’re going to first drop a container on our page, then put a heading in that container, and then add some columns with a team member in each column.
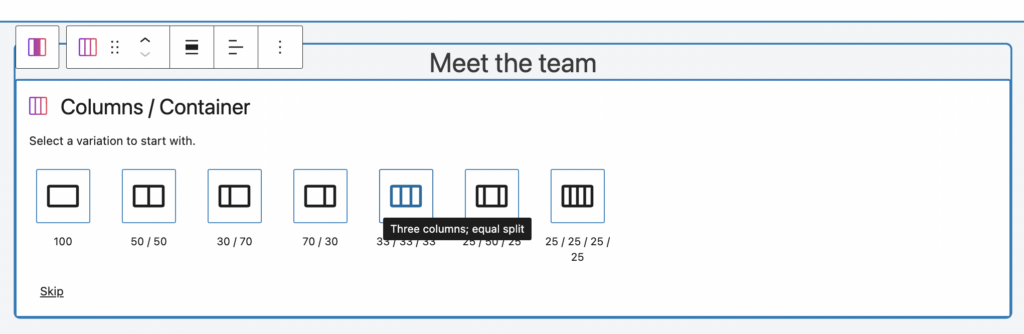
First, click the + to add a new block, look for the Columns/Containers block and select a single column with a width of 100.
This will add an empty container to your page. You will add your next blocks inside this container and not under it. Check out the screenshot below. You can see the 50px spacer we added. Below that, the blue box shows the outline of the container we just added. The plus sign in that blue box adds another block inside the container. The plus sign at the bottom of the block on the right adds another block outside the container.

Before we continue adding content to the container, let’s give it a background and set that background to cover the entire width of the screen. Look at the blocking options on the right side of the screen and toggle the background switch to “on”. You can then set a color for your background or even choose an image or video if you like. We’ll use the default gray, but feel free to change this if you like.
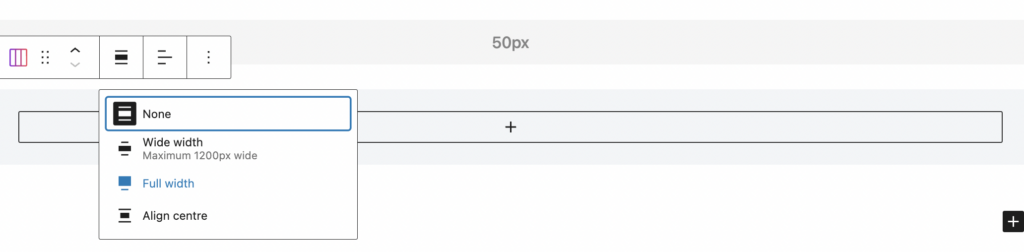
To make this background full use the block options above the block and choose full width from the alignment options.
The next step is to add a heading for your “Meet the Team” section. To do this, click the + in your container to add a new block and look for a heading block. Choose the first option. Write your heading, then use the options above the heading block to align it centrally.

Next, let’s add some columns to our container. Each of these columns contains a team member, so you should add as many columns as you have team members.
See also: How to Create an App Like Swiggy?
To do this, we’ll add another block just below our heading. Click the Meet the Team heading. From the options shown above, click the three dots on the right and then select Paste. This then gives you the option to add another block in your container. Click the + to add a block in your container and select a different column/container block. Set this to have three columns (or however many columns you need).
This gives you three columns with a + so you can add another block in each column. Click the + in the first column and find and add a team member block and click Default.
Repeat this process for each of your columns so that each column contains a team member block.
Repeat this process for each of your columns.
p>
Each team member block is made up of a number of other blocks – an image block, some headings, some paragraphs and some buttons. Each of them can be styled and edited in the same way as the blocks we’ve already used. If you don’t want to use a certain block (e.g. the position), you can simply delete it. Each of these blocks has styling options above and on the right side of the page. Click on the blocks and explore the options as you add the details of your team members.

Add a “Testimonials” section
Add another 50 -Added pixel spacers under the “Meet the Team” block (make sure to add this under the block and not in it). Click the + to add a block under the spacer. Open the Stackable theme library, scroll down to view the testimonial blocks and select Increase testimonial 1.

In the same way as before, copy and paste the dummy text with your testimonials into the names and positions. If you don’t want to use either the name or location field, you can delete it.
Add the contact block
Add another spacer block under the testimonials block and type 50 pixels a space.
Open the Stackable Design Library and look at the function blocks. We’re using Elevate Feature 1 as our contact block, so install that on your site.Use the same process as the previous blocks to make the following changes:
- Click on the image on the left and change it to the image you prefer.
- Click the text elements and edit the wording to your liking.
- Click the button and add another mailto link so people who click it Email them immediately as shown in the image below
- Add another 50px padding block under the feature block
- Publish your changes

Edit Footer Text
Currently, your footer contains default text – a copyright notice and information about the theme the site uses. You probably want to keep the copyright notice but remove the topic information.
To do this, go to the “View” menu on the left side of your page and select “Adjust”. Once in the Customize menu, scroll down and click Footer Builder, then select Copyright. Here you can edit the text that will appear in your footer. You can simply delete the topic information from Section 1 and leave the copyright notice unchanged, then click Publish to ensure this change is saved and then exit the Customize panel.
Create Menu
When users click on the menu items, they are not redirected to a new page, but are instead directed down the page to the relevant section. There are two things we need to do here. First we need to add anchors to the page and then we need to create a menu that links to those menus.
Inserting Anchors in Your Page
To do this, add an anchor block to each item that you want users to be able to access. You will create four anchor blocks, one for each of the sections that you want people to be able to jump down to.
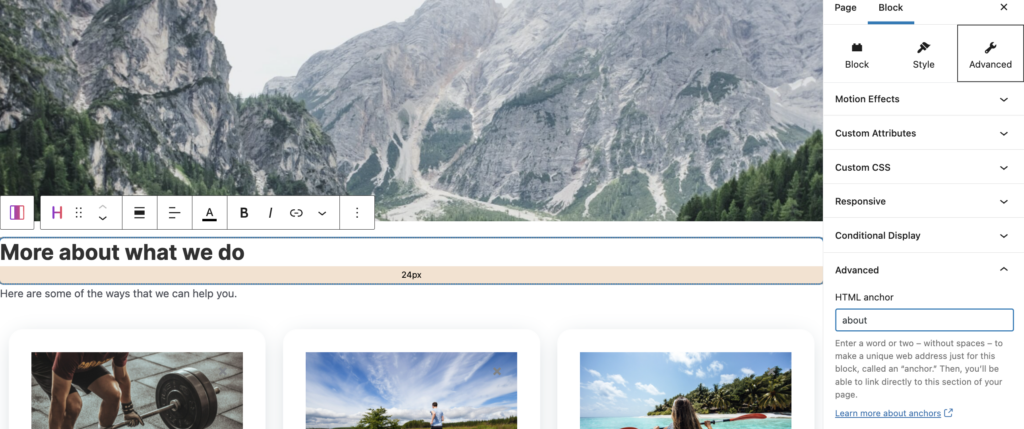
First, scroll back up to More About Our Activities and click Heading. From the options on the right, select the Advanced tab, then scroll down to the Advanced dropdown menu. In the HTML anchor field, type about and update to save your change.
Repeat this process to add three more anchors to each of the three remaining sections. Give them the following names:
- Team
- Recommendations
- Contact
Make sure They publish your changes as you go along.
Creating your menu
The final step is to create the menu and associate it with the anchors you just created.
Go to the View menu and select Menus.
Browse your Primary Menu menu, then check the box next to Show Location to tell WordPress that this will be your main menu. Click Create Menu to save your menu.

Next, add the links to the anchors that you created on your page.
- Drop down Custom Links on the left
- In the URL field, enter the name of your first anchor preceded by a hash, e.g. #about – set the object to link to here
- In the “Link” text box, enter the words you want to appear in the menu, something like “About us”
- Click Add to Menu
- Repeat this process for the three remaining anchor links, adding each one to the menu
- Make sure you tick the box under Have checked Menu Settings, which determines the display position its primary menu
- When you’re done, make sure you click Save Menu

Stick Menu
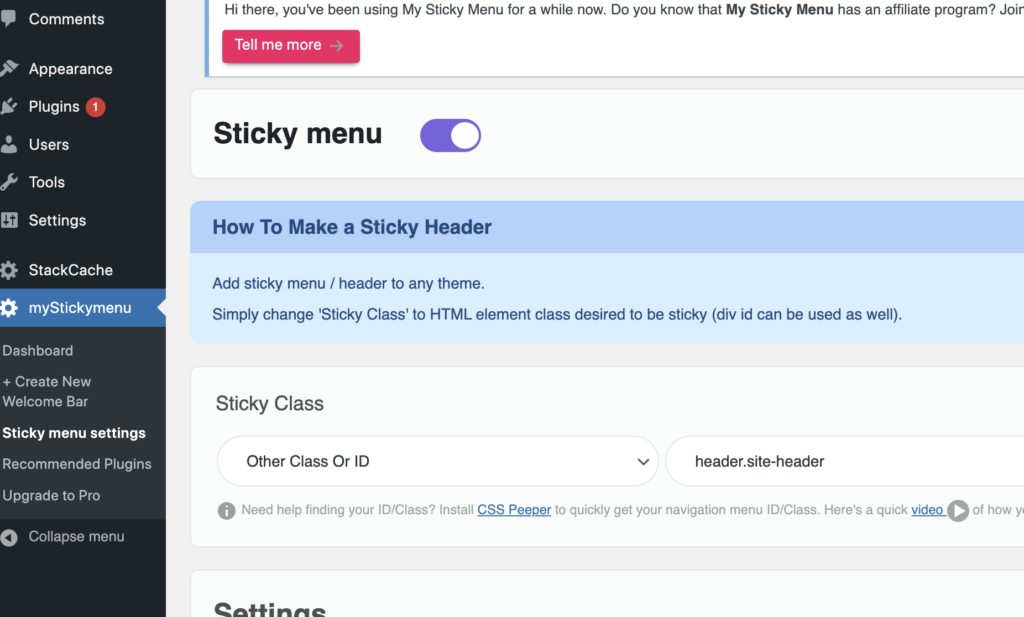
The last thing we need to do is use the settings in the myStickyMenu plugin to make the menu stay at the top of the page when scrolling. When you installed this plugin, it added a new item to your admin menu on the left side of your screen. Click myStickymenu and then click Sticky menu settings.

In the settings, turn on the sticky menu, then scroll down and save this change. That’s all you have to do. You may need to refresh the page before the menu gets stuck.
Next Steps
We really hope you found this tutorial useful. We have other resources on our site that you may find helpful as well.
See also: The complete guide to heatmaps
- We have a series of free videos that explore different aspects of WordPress functionality in more detail and introduce different things you can do within the Astra theme and with different Gutenberg blocks.
- We have an archive of articles all aimed at helping small businesses get the most out of their web presence.
- Sign up for our email newsletter and download a free copy of our 37-page eBook “The Basics of Search Engine Optimization for Small Businesses” to take your web marketing to the next level
- We offer virtual training and WordPress support via phone and video conferencing that can be fully tailored to your needs, be it an hour on the phone to answer a question about how to do something on your existing website , or a full day working together to create a new page. Email us or call us on 0845 0942843 if that sounds like it might be of interest.
.