Logo animations are becoming more and more common these days. With smartphones and the general advancement of internet technology, logos are now much more common in digital spaces and this opens the door to visual effects like animation that are not possible with physical products. Of course, the increasing popularity of logo animations means that more and more brands need them to stay competitive. So learning how to animate a logo can be a valuable skill to take your logo to the next level.
At the same time, animation software has also become more ubiquitous, lightweight, and intuitive to support this growing user base. No matter how technical and daunting logo animation may sound, even beginners now have the ability to create simple yet effective animations.
Reading: How to create a motion graphic logo
To that end, I’ll walk you through the basics of logo animation right from the start. End animation lead. As an example, I’ll work with a logo I created for my personal blog: Story Mode. While we’ll be using Adobe After Effects in this tutorial, most animation software includes similar functionality, and the basics of how the software works apply to each program, although individual names and menu options may vary.
How about a logo with Animate After Effects in 7 steps –
- Prepare logo file
- Import logo into After Effects
- Set up composition
- Animate with keyframes
- Animate with shape layers
- Adjust your animation timing
- Export your animated logo
Step 1 : Preparing the Logo File
We’ll actually start our logo animation tutorial in Adobe Illustrator (or whatever logo design software you own). This ensures that our logo file is set up for animation.
Although animation software is itself raster-based, logo source files should be in vector format. This allows them to be modified without affecting image quality (e.g. upscaling a raster logo will result in pixelation), which will be useful later when working with shape layers.
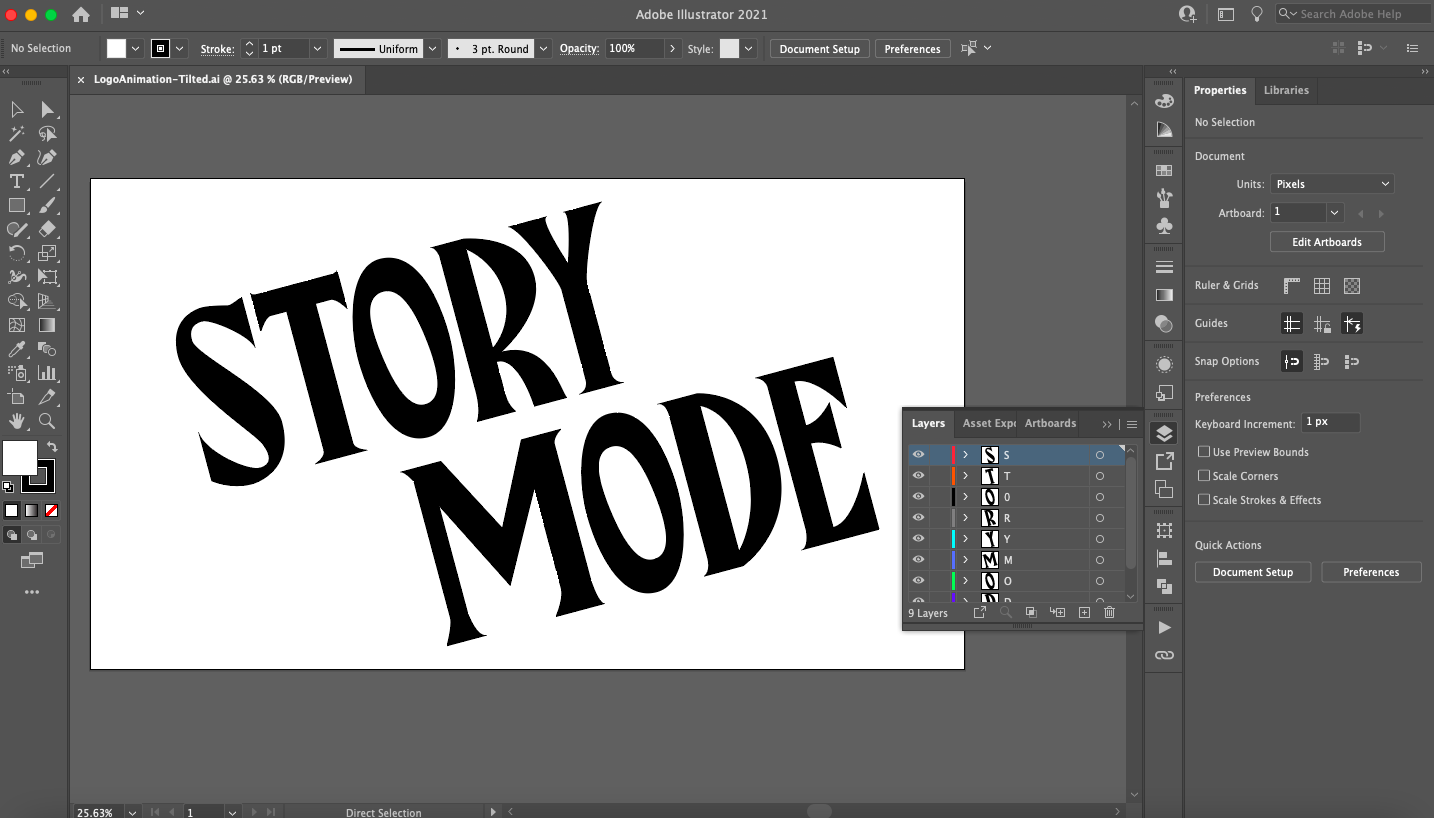
The logo should also be layered and not grouped into a single object. This allows you to easily create more complex animations by animating individual parts of the logo. You can create new layers using the Add New Layer button at the bottom of the Layers panel, then copy and paste your logo parts.
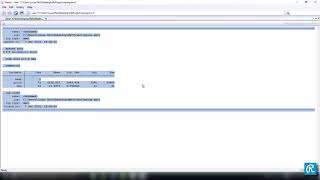
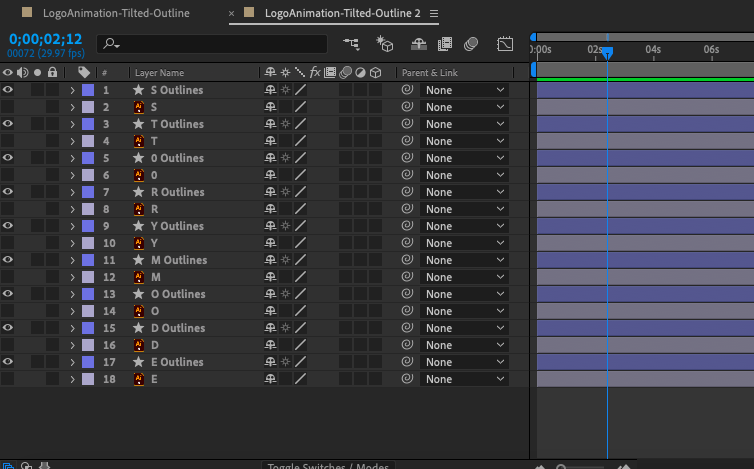
Finally, since animations are digital in nature, we also work with RGB -Colors. If your Illustrator file is set to CMYK, you can change this by selecting your logo and navigating to EditIt consists of both the literal timeline on the right (where you set up animation events that fire on a time-based graph) and the composition area on the left (where you overlay and edit the attributes of your media objects).
If you are unsure about a tool or button, hovering over it will show you a description.
See also: How To Write a Sales Resume That Stands Out [ 5 Examples]
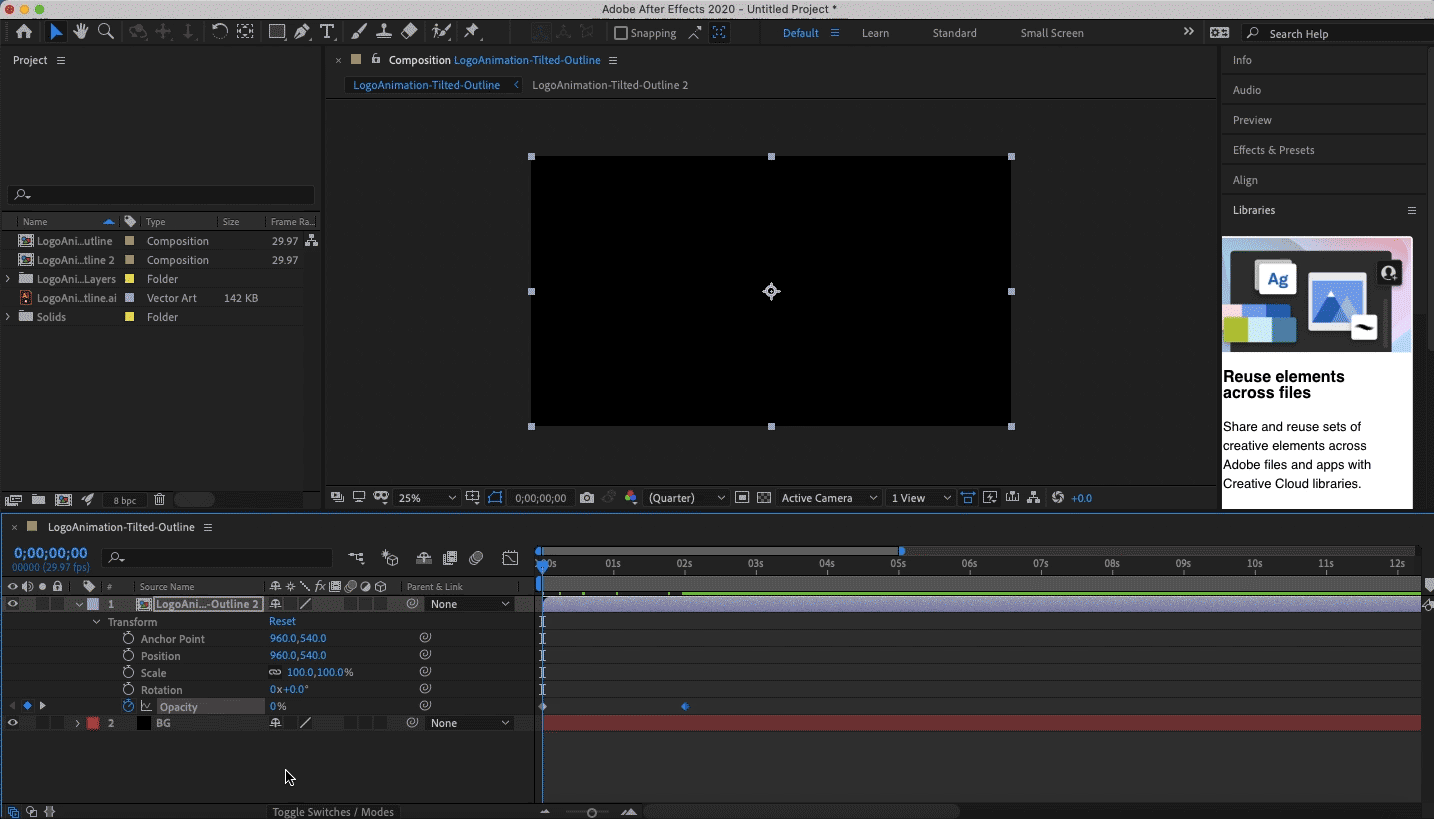
To import your logo file , just drag and drop it into the project window or navigate to File
You’ll see that you’ve created a fading animation by changing the opacity from 0% to 100% in 2 seconds with just two keyframes. This is how all animations are done in After Effects. You create a start keyframe and an end keyframe at variable distances along the timeline, and After Effects automatically calculates the necessary frame transitions to get from point A to point B (traditionally called interframes in the animation industry).
You can see that there are a number of attributes you can work with under the Transform property that we will briefly explain here. Feel free to experiment with keyframing and change each of them to get a feel for their animation possibilities:
- Position: This attribute describes the position of the logo in X,Y space on the composition screen and allows you to animate linear movements.
- Scaling: This attribute describes the size of the logo (as a percentage relative to the full size of the source file) and allows you to create growing or shrinking animations.
- Rotation: This attribute describes the orientation in degrees and allows you to create rotating animations.
Pro Tip: For the logo animation, it makes sense to work in reverse (like we did with the overlay) because the animation is finished at the end should be logo. This means you need to keyframe before you change anything so you have snapshots of the attribute values in their default states. You can then move these keyframes to your intended end point on the timeline (no matter how long you want the animation to last) and create new keyframes for changes at the beginning of the timeline.
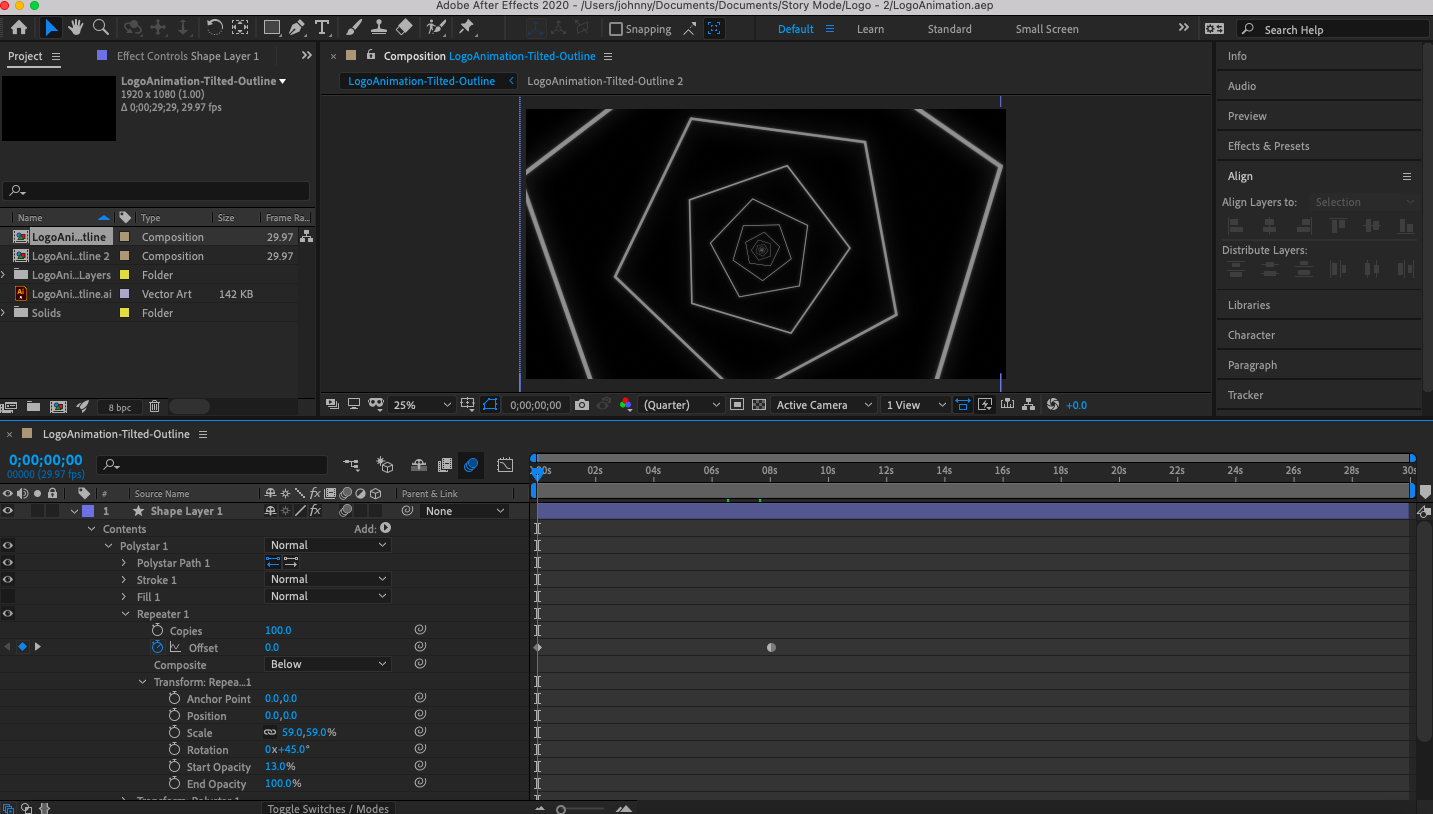
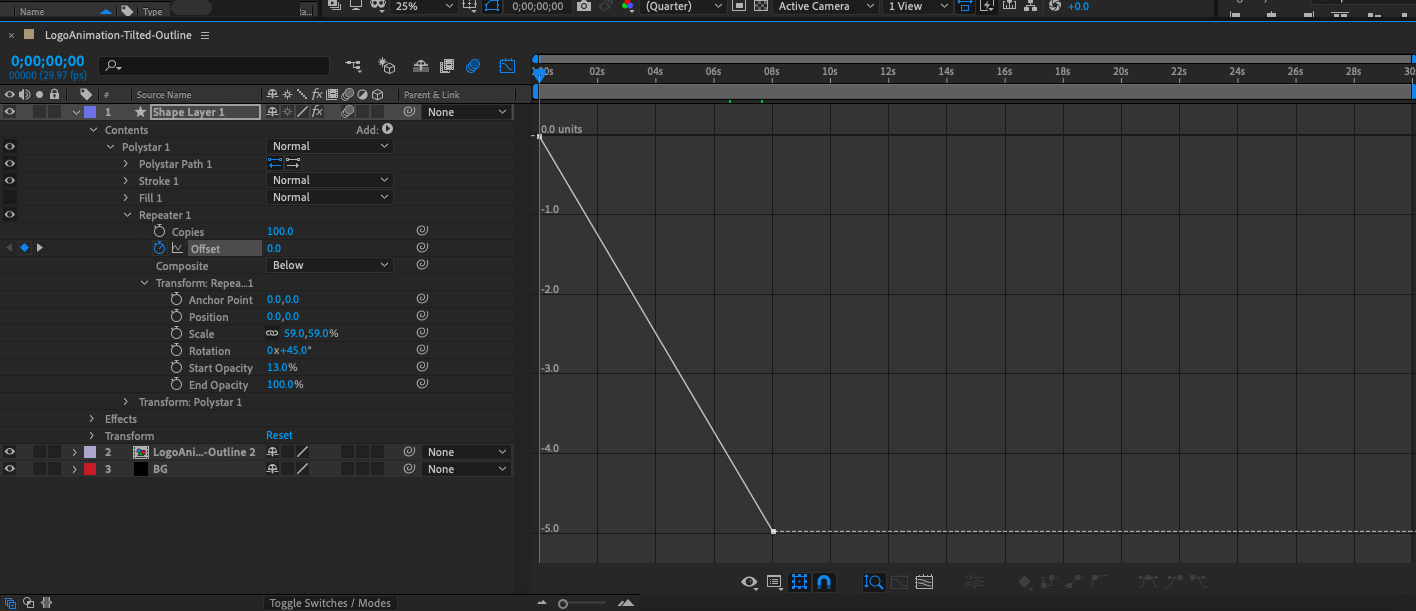
Step 5: Animate your logo with shape layers
Now let’s learn some more interesting animation techniques through shape layers. Shape layers are objects that contain path information such as anchor points and connecting lines (similar to those in vector programs), and manipulating them opens the door to a whole range of animation possibilities beyond the Transform property.
Then I added a Repeater property, centering the position and the Number increased from copies. This will duplicate the shape to create what appears to be an infinite tunnel. Adjusting the scale increases the space between each copy, and changing the rotation orients the copies in different directions for visual interest.
Finally, to animate this, I have an offset keyframe of 0 am Anfang des erstellt timeline and set it to a negative value later on in the timeline.
You are probably thinking that there are many options for shape layers. That’s true: there are online courses on the subject, and you should take the time to experiment, practice, and learn.
See also: Creating A Shopping Cart With HTML5 Web Storage
I can’t tell you which animation style is right for your logo either, or what specific ones Animation tools you need to achieve this style. However, I can give you advice on how to find out for yourself. Look for inspiration from other animated logos like your competitors, brands you admire, and/or a site like Pinterest or Dribbble – just like you did when creating the logo.
You will find that once you start analyzing these with your newfound knowledge of how to animate a logo, many are based on simple manipulations of shapes and transformations (even those that are clearly layered on advanced, stylized effects). Once you’ve found a few you like, you can work backwards in After Effects to try and reverse engineer those animations for practice.
Step 6: Adjust your animation timing
Let’s take a moment to talk about timing, which describes the tempo of animation frames during an animation. You can see a visual representation of the timing by navigating to the Graphic Editor. To do this, click the chart icon (labeled Chart Editor when you hover over it) at the top of the timeline window, and this changes the timeline to a linear chart.
If you click on one of your keyframe attributes, you will see a straight line from one keyframe to the next. Since we’ve only created start and end point keyframes so far, we’ll let After Effects calculate the timing. With no direction, After Effects paces each animation frame evenly, resulting in a perfectly straight line.
Nevertheless, it is the animation that deliberately varies the timing sense of realism. For example, in a bouncing ball animation, the ball moves slower at the height of its bounce and faster when it’s closer to the ground due to momentum and gravity. In other words, it doesn’t move at the same speed throughout the animation, and if it did, it would stand out as a robot.

The Graphic Editor allows you to adjust the timing of your own animation by using Bezier handles to turn the graphic line into a curve. At the bottom right of the Graph Editor you will see a series of square dot icons connected by lines – these are Bezier tools.
Click on one of your keyframes and hover over the Bezier tools, until you find the one labeled Convert Keyframes to Auto-Bezier. When you click it, a yellow handle appears on the graph. Dragging this handle will curve the line, and this will change the timing of your animation. Where the curve is more pronounced, frames play faster, and where the curve is smoother, frames play slower.
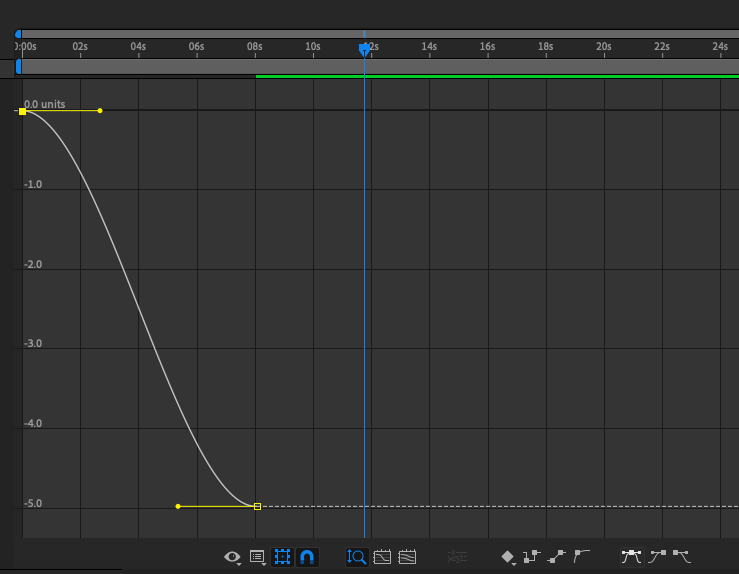
To really understand the nuances of how your own timing should be adjusted requires animation experience and therefore adjusting Bezier curves manually is a more advanced topic For the purposes of this beginner tutorial I recommend using Easy Ease Bezier tool (which applies an automatic curve to your selected keyframe) for all animation timing You can apply Easy Ease to a keyframe outside of the diagram editor by selecting a keyframe and right-click.
See also: Create, Run And Build A PhoneGap App
Step 7: Export your animated logo
When you are ready to export your finished animated logo, go to File