One of the best marketing tools – a blog is a great thing to implement on your Magento 2 website. It helps you create a traffic source and a free place to promote your business.
By creating a blog on Magento 2, you will build trust and improve the customer experience on your website .
Reading: How to create a blog in magento 2
Magento does not have a blog feature by default. So you have to install it on your instance to be able to manage a blog without depending on a third party platform.
The market is huge. We have already collected the best Magento 2 blog extensions in one place and compared their features to save you time. Now you shouldn’t have a hard time choosing a blog for your store.
However, in this article you will learn how to create a blog post in Magento 2 Blog by Magefan.
Follow these steps to create a blog post in Magento 2:
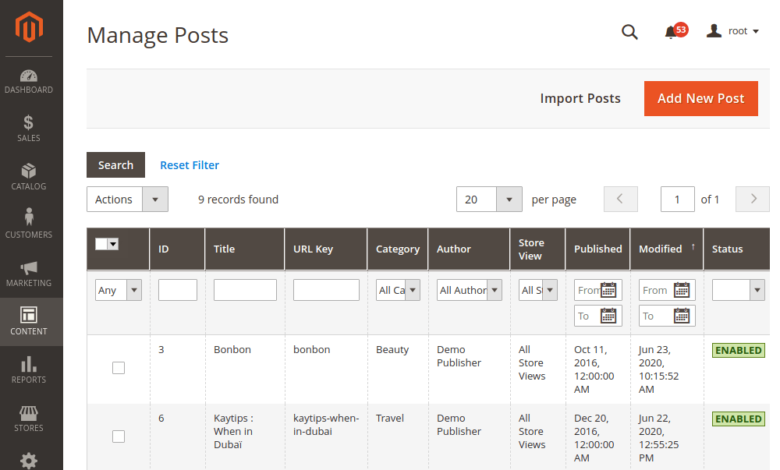
1. Navigate to Content > Blog > Posts and click the Add New Post button.
2. Activate postand give it a title.
3. Select the category you want to assign the blog post to.
Note: You can easily create a new category by clicking the New Category button.
4. Write a blog post in Content.

5. Add the brief content.
You can only enter brief content if it is completely different from the main content. The short content is displayed on the blog index page and in the post lists.
See also: Blog

Note: There are two more options to configure short content for you: Default short content length Configure post list and read more tag.
6. Configure blog post Display Settings.
- Upload Recommended Image, set Recommended Image Alternative and upload them Featured List Image (Blog+)along with Featured List Image Alt (Blog+), but not these last two options are only available for Blog Plus and Blog Extra.
- In the Publishing date field, specify the post publishing date.
Note: If the publishing date is not set is, the current date will be applied with. If you set the date in the future, schedule a blog post to be published.

- Set the author of the article.
Note: If you leave this field blank, your admin user will automatically be assigned as the author of this post. If you use Blog Extra, you can create an author page with the social media links and latest articles.
- Connect your Magento 2 blog posts with tags. You can create blog tags and assign them to store views.
- Decide whether you want to include posts in recent posts .
- Choose whether comments should be enabled or disabled for the blog post.
Note:You can disable the feature or enable only Magefan blog comments for the single blog post.
- Set the position of the post in the post list . It is used in case you want to sort posts by position on category blog index pages.
- Set the view count.
- Limit the Post visibility for customer groups.
Note: This option is only available for the Blog Plus and Blog Extra available. p>

7. Upload photos for the blog post media gallery that will appear at the bottom of the post page on the storefront.

8. Configure Search Engine Optimization.
- Set the URL Key used in the article URL. If you leave this field empty, it will be generated automatically.
- Enter the meta title which should NOT be longer than 50-60 characters. If you don’t specify this field, the post title will be used.
- Set the meta description which should NOT be longer than 160 characters. If you don’t specify this field, the short content will be used.
- Provide meta keywords if required. Please note that according to the latest SEO practices, the use of meta keywords is not recommended.

9.Configure the Open Graph tags for your blog post.
OG tags allow you to set different titles, descriptions, and images to make blog posts more attractive and clickable in social media.
See also: How to Make YouTube Stories in Simple Steps?

10. Choose which sites to post the blog to.

11. Set the Related Products Rules to automatically generate related products.
Note: This feature is only available for Blog Plus and Extra User available.

12. Select Related Posts and Products. They are displayed on the item page.

Note: You can configure automatically sourced blog posts and products to save time adding them manually.
13. Configure blog post theme and Custom theme update.
- Choose the layout and the layout -Update XML for the theme.
- Select the date range (from – to) within which a new theme should be applied and enter the new design. strong>, Layout and Layout Update XML.

14. Check the Publish to Facebook option, to post to Facebook automatically.

When you’re done creating a blog, don’t forget to save it.
Then go to the Post View Configurations to define the design and set up additional page elements for blog posts.
See also: How to Make an App for Both iPhone and Android?
.