As most of you know, Picnik will soon be gone and many bloggers will be left in the dark when it comes to customizing their photos and creating new blog buttons. I’ve always been an avid Photoshop user and I recently posted my favorite tips and tricks.
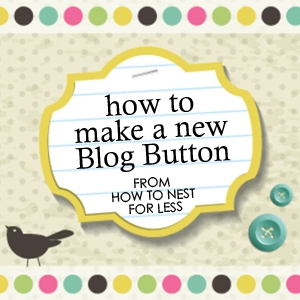
 Well today I thought I’d share a quick tutorial on how to make creative blog buttons using Photoshop and stock photos… perfect for beginners. So let’s go!
Reading: How to create a blog button in photoshop
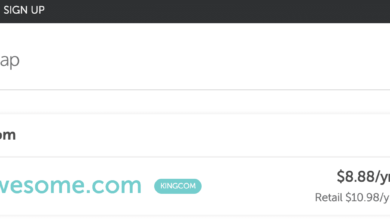
The first thing you should do is find your design elements. Since I’m guessing most of you aren’t graphic designers or illustrators, you need some help with this part! One of my favorite sites to buy stock photos, illustrations, and vectors is BigStockPhoto.com.

You can buy web-size JPGs starting at $2.99. Yes, you can sometimes find small illustrations online that you can google, but some of these images are copyrighted. Be safe and buy your clipart or illustration. Plus, anything you buy for a blog button can also be used for your website header or Facebook timeline cover! Please note that items you purchase from BigStockPhoto.com cannot be redistributed. It’s for personal use only.
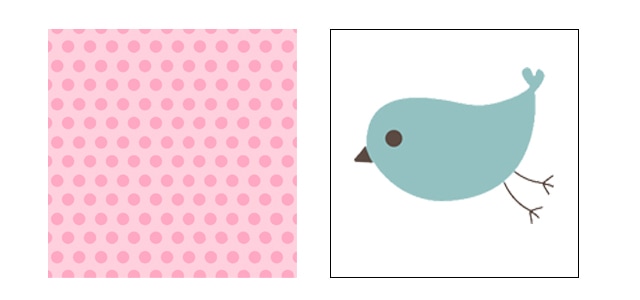
For the first blog button, I found this little pink polka dot background (which you could easily make yourself) and a little blue birdie.
 The first thing you will do , is the size of your downloaded photo. I suggest starting with a 300px square. Most websites and bloggers use 125×125 pixel buttons, but I find it better to make the file larger and scale it down as needed.
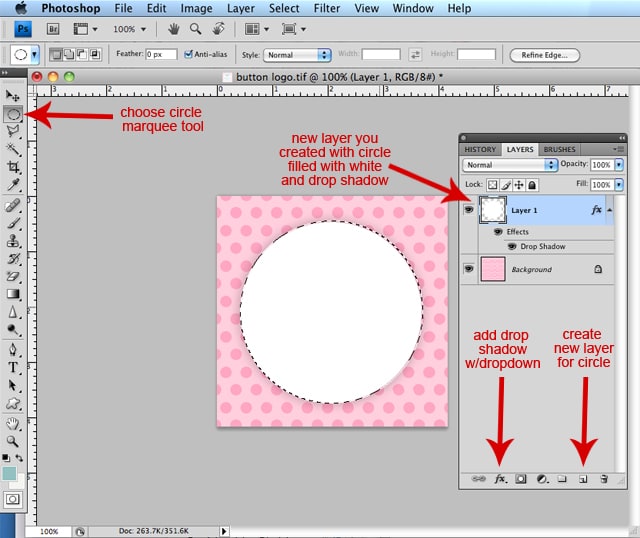
You can either create a new 300×300 pixel document and your downloaded document drag background into the new document and transform it to fit (Image > Free Transform), or you can crop the downloaded image to size (I chose the latter for this exercise).
I’m putting set the width and height in the options bar to 300 pixels each (see screenshot above) and cropped the image.
See also: 10 Logo Design Tips to Take Your Brand to the Next Level [ Logo Templates]

 If your icon (like my birdie) has a plain white background, you can use the Magic Eraser to isolate the bird. Just click in the white area with the tool and it will magically disappear! Now you can drag the bird onto the new button and create a layer effect.
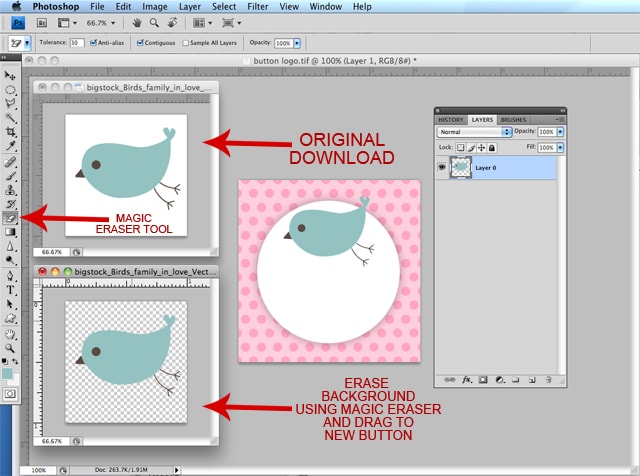 Next, let’s add some text! Use the text tool to create your text, change the font and choose your colors. Position it in place.
 Continue and save the layered file as a PSD so you can make changes in the future.
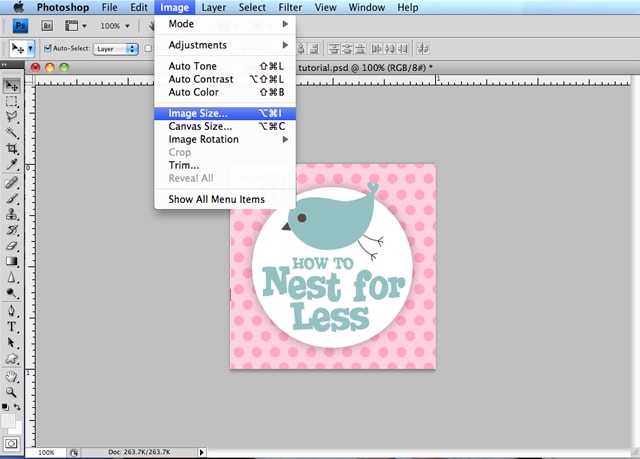
To create the JPG version, go to Layer > Flatten Image.
 NOW WE NEED TO CHANGE THE IMAGE SIZE TO 125X125 PIXELS. Go to Image > Image Size.
 Change the pixel with on top to 125 (the height should automatically change with it).
![]() Now you can SAVE AS a JPEG by going to File > Save As. Change the format to JPEG and click SAVE.
Now you can SAVE AS a JPEG by going to File > Save As. Change the format to JPEG and click SAVE.
TADA! YOU HAVE A BLOG BUTTON! {is she cute?}
If I haven’t overloaded you already, do you want to see one more quick thing?
See also: Build an app for your luxury brand and optimize consumer loyalty
For this next blog button, I decided to download this fancy background with multiple tags. It had everything I was looking for…clean space to enter my information, a little birdie for How to NEST for Less, and some little clothes buttons (for this blog BUTTON!). OK, it’s not always easy to find something this perfect, but it happens!
 I downloaded the small version and saved it to my desktop.
 Now I don’t need any of that anymore. I only want the bottom right corner so I’ll cut out the rest.
Use your crop tool and set the parameters in your options bar to 300×300 pixels. Again, I do this size first because it’s easier to see the details when I’m creating these elements, and I can always make the image smaller… You can NEVER make an image bigger (it gets pixelated and blurry!).
 Once you have cropped the image, you can add your text (I rotated mine a bit with the Transform Tool or Control/Apple T).
And that’s it! Looks like a professionally designed button in minutes!
BigStockPhoto.com offers a variety of intricately pre-made, scrapbook-like elements for download. This makes your design effort SUPER EASY! Just clap the text and you’re done! Here are some quick examples of adorable backgrounds…

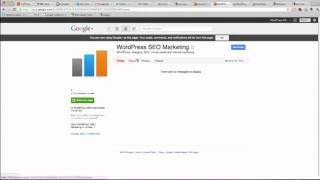
One last thing… If you want a grabbox with the code for your new blog button, check out these tutorials:
The Cool Realm Code GeneratorBetween Naps on the PorchLive. Laugh. Rowe.
See also: This Is What a Perfect Professional Email Signature Looks Like
.