Need help setting up Google Workspace (formerly G Suite) for your website so you have a professional email address?
Google’s Workspace service can help you with many things help, but one of its most notable features is that it hosts your email for you and allows you to use the Gmail interface with your own domain name (e.g. [email protected]), giving you a professional email Get mail address.
Reading: How do i create an email address to g suite
That makes it a great option as an email hosting solution for your WordPress site, although this step-by-step guide is by no means limited to WordPress users only .
In this Google Workspace (formerly G Suite) setup guide tutorial, I’ll walk you through each step you need to take to get Google Workspace working with your website and your work email running .
How to set up Google Workspace (G Suite) in 4 steps en (with screenshots)
Here is a quick overview of the steps you need to follow to configure Google Workspace wi Mai your website and work email address:
- Register an account and go through the Google Workspace setup wizard
- Add more users to your account (optional)
- Verify domain ownership with Google by add a TXT record to your DNS records
- Set up email by adding MX records
Done? How to set up Google Workspace…
Step 1: Complete the Google Workspace (G Suite) account setup wizard
First you need to create your own Google Workspace account.
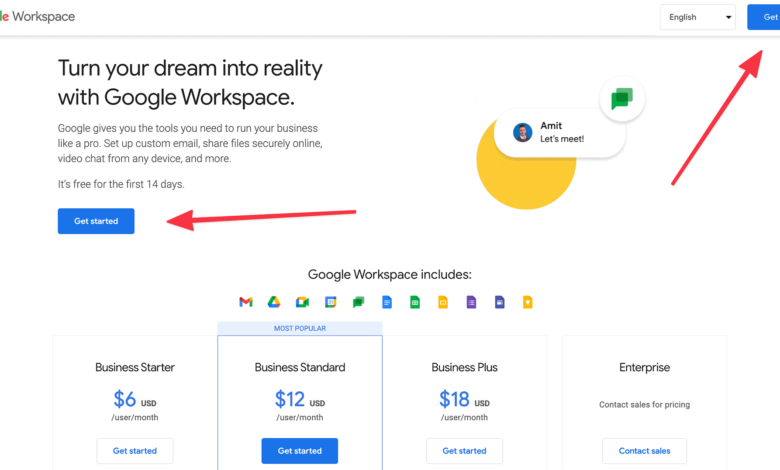
To do that, go here and click the big Get Started button:

This will launch the account setup wizard, which will ask you to provide Google with some information.
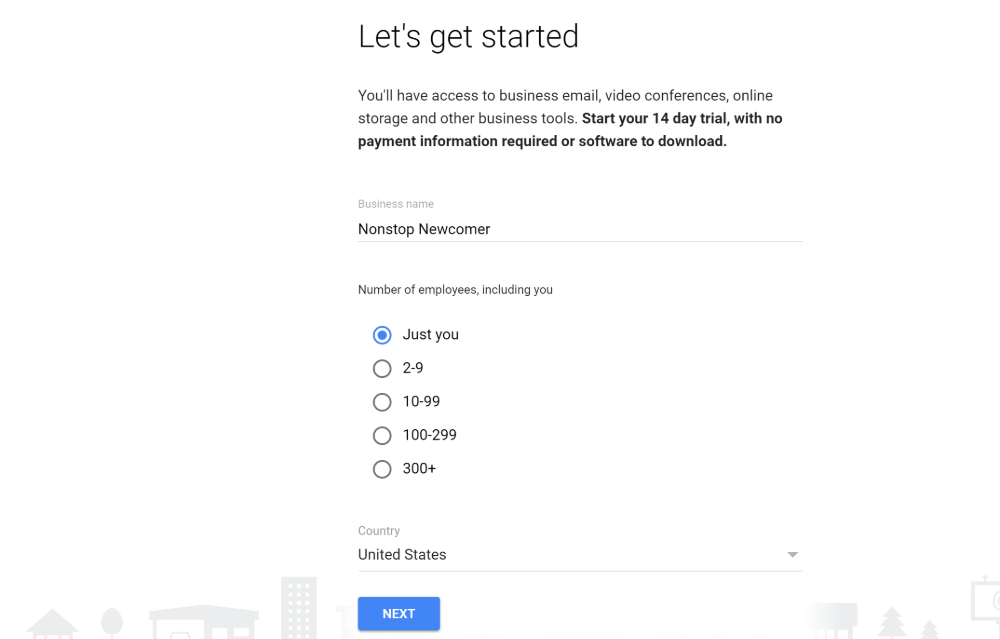
First , enter some basic information about your account. Then click Next:
On the next screen, you will need to enter your Google Workspace administrator account information.
If yes, email already via After setting up your domain host, use this email address in the Current email address field. Otherwise you can provide a personal email address:
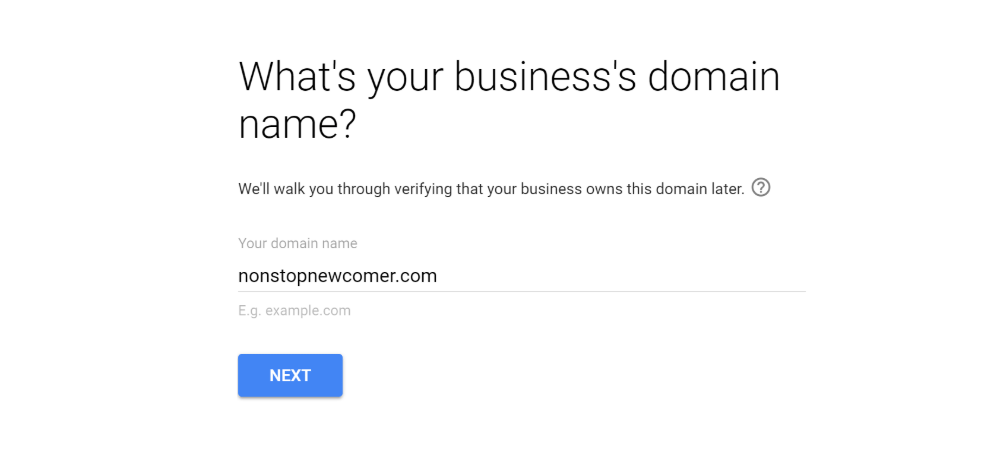
Then enter your existing domain name in the field and click Next:
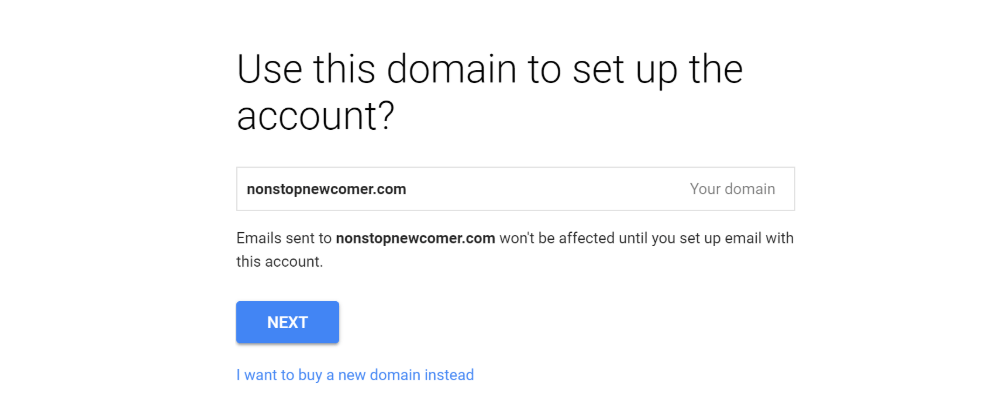
Then click Next again to confirm that you want to use this domain name:
See also: How to Choose the Best Domain Registrar in 2023 (Compared)

After that, you will need to enter a secondary recovery email address to use in case you cannot access your primary email address. For example, you could enter your personal Gmail account here, if you have one:
You will then need to enter a username and password that you use to log into Google Workspace. By default, your username is your work email address (i.e. [email protected]), so you should take this into account when choosing which username to use.
Then click Agree and create Account to complete the process:
Step 2: Add other people to Google Workspace (optional)
Once you’ve completed the above wizard, you’ll see a confirmation that your account has been created, as well as a button to Go to Setup. Go ahead and click this button:
If you want to give other people access to your shared Google Workspace account, click Start next to People to your Add Google Workspace Account . You can then add more users.
If you’re the only person using this Google Workspace account, simply check the I’ve added all user email addresses… and click Next:
Step 3: Verify your domain name with Google
Now start with the more technical aspects of setting up Google Workspace (G Suite ) .
First you need to verify your domain ownership with Google by adding what is called a TXT record.
To help you with this, Google will try to determine where your Domain is hosted domain and give instructions. For example, Google noticed that my sample site is hosted at SiteGround.
These instructions are actually pretty helpful, so maybe they’re all you need.
But to give you a little extra help, I’ll show you how to do things with cPanel do, this is the hosting dashboard (usually part of your hosting account) that most web hosts use (especially budget web hosts). If your host is not using cPanel, you may need to contact your host’s support if Google’s instructions alone are not enough…
To get started, log into your host’s cPanel dashboard . Then look for the tool Advanced DNS Zone Editor:

See also: NAVIGATE
Next, select your domain name from the drop-down list.
Then you must use the form to add a TXT Record containing the information from the Google Workspace (G Suite) website:
- Name – Your domain name
- TTL – 86400
- Type – TXT
- TXT Data – Copy and paste from Google Workspace (G Suite ) user interface (click below if you are not sure where to find this)
Step 4: Add MX records for your work email address
Next you need to complete another technical process n step and add something called MX Records. These are the things that allow Google Workspace (G Suite) to process email for your new domain name.
Again, I’ll show you how to do this using cPanel. But if your host doesn’t use cPanel, you may need to contact your host’s support staff.
To get started, go back to your main cPanel dashboard and locate the MX -Entry tool:

Then , select your domain name from the drop-down list. After that, you should see a ready-made Set Google MX button. That’s all you have to click! No need to do things manually:
If you don’t see this pre-built Google Account option, you can use the Advanced MX Editor from your main cPanel dashboard open.
You can then manually delete the existing entries and then use the form to add the following entries:

When you are finished adding the records, go back to the Google Workspace (G Suite) interface and click the Verify domain and set up email button:
And if you did everything right, you should get a success message:

You just got Google Workspace (G Suite) and your configured email should work soon – have fun! Note that it may take a few hours for your email to work. So don’t worry if you don’t get new emails right away.
Conclusion + How to manage your new Google Workspace (G Suite) account
And if you have your If you need to manage your Google Workspace (G Suite) account – like adding new users or managing apps – you can do this from the Google Workspace (G Suite) admin console:
Have more questions about setting up Google Workspace (G Suite) with your WordPress website or work email? Let us know in the comments and we’ll try to help!
See also: How to Make a Chatbot for a Website in Minutes
.