Create a repository for your site
You can either create a repository or select an existing repository for your site.
If you want to create a GitHub Pages site for a repository If not all files in the repository are related to the website, you can configure a publication source for your website. For example, you can have a dedicated branch and folder to store your site source files, or you can use a custom GitHub Actions workflow to build and deploy your site source files.
Reading: How to create a workflow website for github
If the account that owns the repository uses GitHub Free or GitHub Free for Organizations, the repository must be public.
If you want to create a site in an existing repository, drive Proceed to the “Create your website” section.
- In the top right corner of any page, use the dropdown menu and select New Repository.
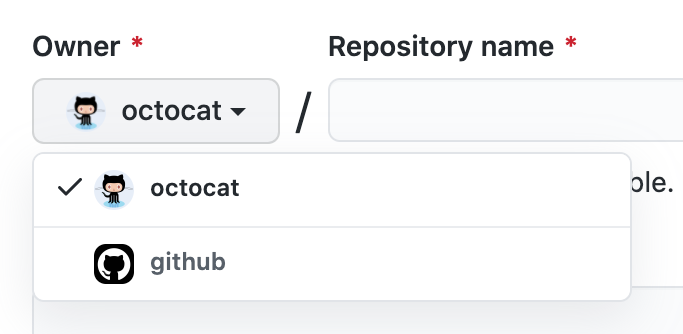
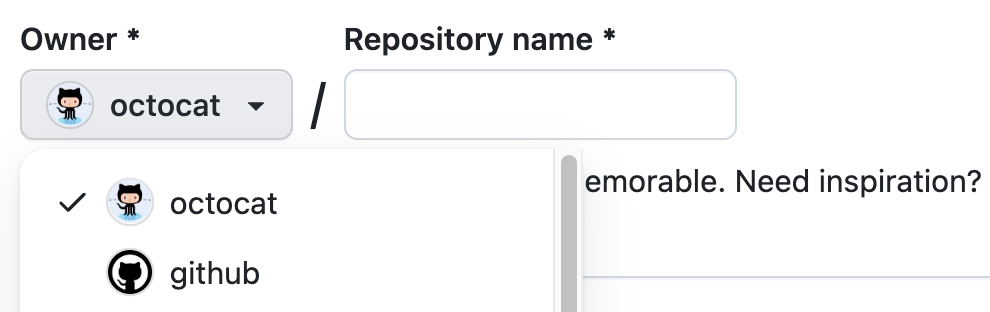
- Use the Owner dropdown menu and select the account that will own the repository.
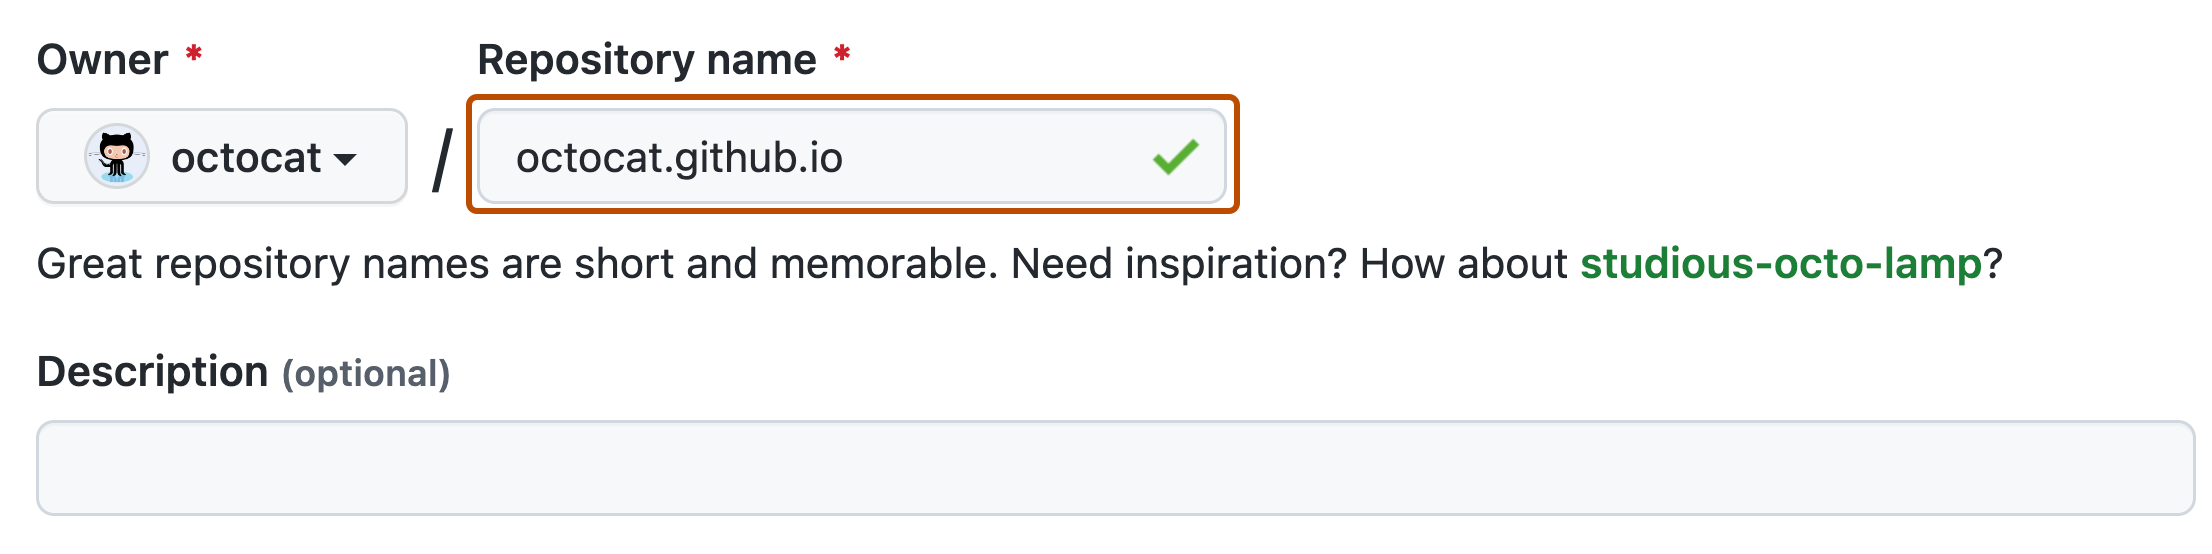
- Enter a name for your repository and an optional description. If you are creating a user or organization site, your repository must be named .github.io or .github.io. If your username or organization name contains uppercase letters, you must lowercase the letters. For more information, see About GitHub Pages.
- Choose a repository visibility. See About Repositories for more information.

- Select Initialize this repository with a README.

- Click Create Repository.

Create your website
Before you can create your website, you must have a repository for your website on GitHub. If you’re not building your site in an existing repository, see “Creating a repository for your site”.
-
Browse to your site’s repository on GitHub.
-
See also: How to Make a Logo in GIMP
Decide which publishing source you want to use. For more information, see “Configure a publish source for your GitHub Pages site.”
-
Create the entry file for your site. GitHub Pages looks for an index.html, index.md, or README.md file as an entry file for your site.
If your publish source is a branch and folder, the entry file must be under the top one Level of the source folder in the source branch. For example, if your publication source is the /docs folder on the main branch, your entry file must be in the /docs folder on the main branch.
If your publication source is a GitHub Actions workflow, it must artifact you provide will contain the entry file at the top level of the artifact. Instead of adding the entry file to your repository, you can choose to have your GitHub Actions workflow generate your entry file when the workflow runs.
-
Configure your publish source. For more information, see “Configure a publish source for your GitHub Pages site.”
-
Click Settings under your repository name. If you don’t see the Settings tab, select the drop-down menu and then click Settings.
See also: How to make a logo in Illustrator

-
In the Code and Automation section of the sidebar, click Pages.
-
To view your published site, click Visit Site under GitHub Pages.

-
Your GitHub Pages site is built and deployed using a GitHub Actions workflow. For more information, see Viewing workflow execution history.
Next steps
You can add more pages to your site by adding more new files create. Each file is available on your website in the same directory structure as your publishing source. For example, if the publishing source for your project website is the gh-pages branch and you create a new file named /about/contact-us.md in the gh-pages branch, the file will be available at https://. .github.io//about/contact-us.html.
You can also add a theme to customize the look and feel of your website. For more information, see “Adding a theme to your GitHub Pages site with Jekyll”.
To further customize your site, you can use Jekyll, a static site builder with built-in support for GitHub Pages. For more information, see “About GitHub Pages and Jekyll”.
See also: Create Your Translation Website, Kick Start Your Language Business
Further Reading
- “Troubleshooting Jekyll Build Errors for GitHub Pages Sites”
- “Create and delete branches in your repository”
- “Create new files”
.