Introduction
A table is a set of data organized by rows and columns. Tables are useful to show connections between data types, e.g. B. products and their costs, employment and employment data or flights and departure times. In this tutorial, you’ll create a table using HTML, customize it by adding a desired number of rows and columns, and add row and column headings to make your table easier to read.
Prerequisites
- Familiarity with HTML. If you are unfamiliar with HTML or need a refresher, you can check out the first three tutorials in our how-to series on creating a website using HTML.
- An index.html file for practicing creating HTML tables . If you don’t know how to create an index.html file, please follow the instructions in our short tutorial How to set up your HTML project.
Basics of HTML tables
An HTML table is created with an opening
tag. Within these tags, data is organized into rows and columns using
Reading: How to create a website using table
Table row tags are used to create
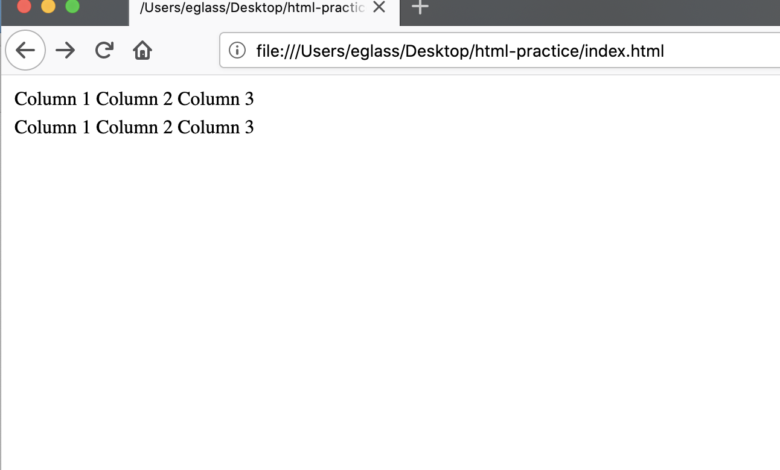
As an example, here is a table with two rows and three columns :
| Column 1 | Column 2 | Column 3 |
| Column 1 | Column 2 | Column 3 |
To see how HTML tables work in practice, add the above code snippet in the index. html file or any other HTML file you will use for this tutorial.
Save the file and reload it in the browser to check your results. (For instructions on how to load the file into your browser, please visit this step of our HTML elements tutorial.)
Your web page should now have a table with three columns and two rows:

To add an extra row, add the highlighted
| Column 1 | Column 2 | Column 3 |
| Column 1 | Column 2 | Column 3 |
| Column 1 | Column 2 | Column 3 |
See also: How to Create a Real Estate Website with WordPress
Save your results and review them in your browser . You should get something like this:

To add another column, try inserting an additional table data element
| Column 1 | Column 2 | Column 3 | Column 4 |
| Column 1 | Column 2 | Column 3 | Column 4 |
| Column 1 | Column 2 | Column 3 | Column 4 |
Save your results and check them in your browser. Your web page should display a table with three rows and four columns:

Adding a border to a table
In general, tables should be styled with CSS. If you are unfamiliar with CSS, you can use HTML to add light styling by adding the attributes to the
| Row 1 | Row 2 | Row 3 |
| Row 1 | Row 2 | Row 3 |
Add the highlighted border attribute to your table and check your results in the browser. (You can delete your index.html file and paste the HTML code snippet above.) Save your file and load it into the browser. Your table should now have a border around each of your rows and columns, like this:

Adding headings to rows and columns
Headings can be added to rows and columns to make tables easier to read . Table headings are automatically formatted with bold and centered text to visually distinguish them from table data.Headings also make tables more accessible by helping users using screen readers navigate table data.
Headings are added through the use of opening and closing
See also: How to Make Money on YouTube in 2023: 7 Top Tips
Delete the index.html file and add a Add row of column headers with the following code snippet:
| Column Header 1 | Column Header 2 | Column Header 3 |
|---|
Save the index.html file and reload it in your browser. You should get something like this:

Your web page should display a single row with column headings. Notice that the first column heading is blank. You can add a column header here if you want.
To add row headers, you must add opening and closing
and
| Column Header 1 | Column Header 2 | Column Header 3 | |
|---|---|---|---|
| Row Header 1 | Data | Data | Data |
| Row Header 2 | data | data | data |
| Row header 3 | data | Data | Data |
Save the index.html file and reload it in your browser. You should get something like this:

You should now have a table with three column headers and three row headers.
Conclusion
In this tutorial you can have an HTML Created a table, added additional rows and columns, and created row and column headings.
If you are interested in learning more about HTML, you can check out our tutorial series How To Build a Website With HTML . To learn how to use CSS to style HTML elements (including tables), please visit our How To Build a Website With CSS tutorial series.
See also: New Grad Nursing (RN) Resume Examples & Guide
.