Dreamweaver is an application that allows you to design, code and manage websites. What’s interesting about the software is that it offers both the ability to write code and create a website with a visual interface.
In this Dreamweaver tutorial, you’ll learn how to use the platform to create any use website. We’ll cover the basics of Dreamweaver and what it can do, highlight highlights and show how to set it up.
Reading: How to create a simple website in dreamweaver
We’ll also show you step-by-step how to create a basic website using Dreamweaver, make it mobile-friendly and finally upload it to your server.
While building a website with Dreamweaver might not be as easy as it is with WordPress, we’re sure you’ll be amazed at how quickly you’ll get into into this very intuitive program.
Ready? Let’s take a closer look.
What is Dreamweaver and what can it do?
On the surface, Dreamweaver is an IDE (Integrated Development Environment). This means that it is software that combines different tools to simplify web design and development.
What makes it special is that it is somewhere between a CMS or WYSIWYG editor (with where you control everything about your website) is located a visual interface) and a pure code editor. Here’s how the different parts work.
Create websites using a visual design interface
The visual design toolbox lets you essentially create websites with your mouse. You can place website elements the same way you create a layout in Word. Basically, you see your website as you would see it in a browser, but you also have the ability to manipulate it.
This is very useful because it lets you quickly see the skeleton of a website (including bootstrap sites) and without writing a single line of code. Instead, as you’ll see in the following tutorial, Dreamweaver automatically creates the required markup for you. In theory, you can put together an entire website by hand and upload it to your server.
This could also be why big names trust Dreamweaver. According to BuiltWith, it has a number of high-profile users. From the official website of the City of Phoenix, Arizona to the FCC to Goodwill, big names rely on the software to style their websites.
Functions as a full code editor
On the other hand, if you are able to code, Dreamweaver has all the necessary tools for that as well. The second part of Dreamweaver is a full-featured code editor. It comes with all the standard features, including:
- Syntax highlighting – This means that Dreamweaver will show different elements (like operators, variables, etc.) in different colors around make the code easier to read and correct.
- Code Completion – Code Completion works similar to the autocomplete on your phone. Start typing and the editor will make suggestions for what you’re trying to write. This way you don’t have to type everything out.
- Compress code – Compress code is another feature to make code easier to read. It allows you to visually shrink parts of your code when you don’t need them. That way, you don’t have to scroll through the entire file, but can focus only on the parts you need to work on.
Dreamweaver supports the major web design languages (CSS, JavaScript , PHP) and much more.
Best of all: If you change something in your code, Dreamweaver automatically reflects it on the visual side as well. This way you can see it without having to upload your files to a server or launch the browser.
There are many more features and you will see many of them in action in the upcoming Dreamweaver tutorial for beginners .
Dreamweaver Setup and Website Design Process (Step-by-Step)
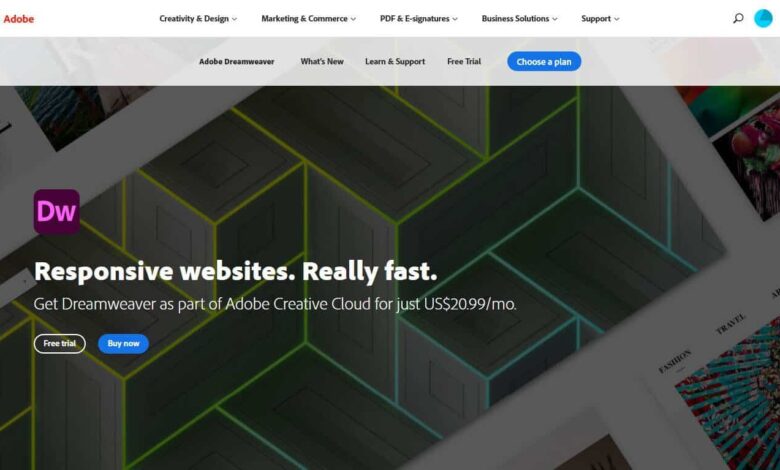
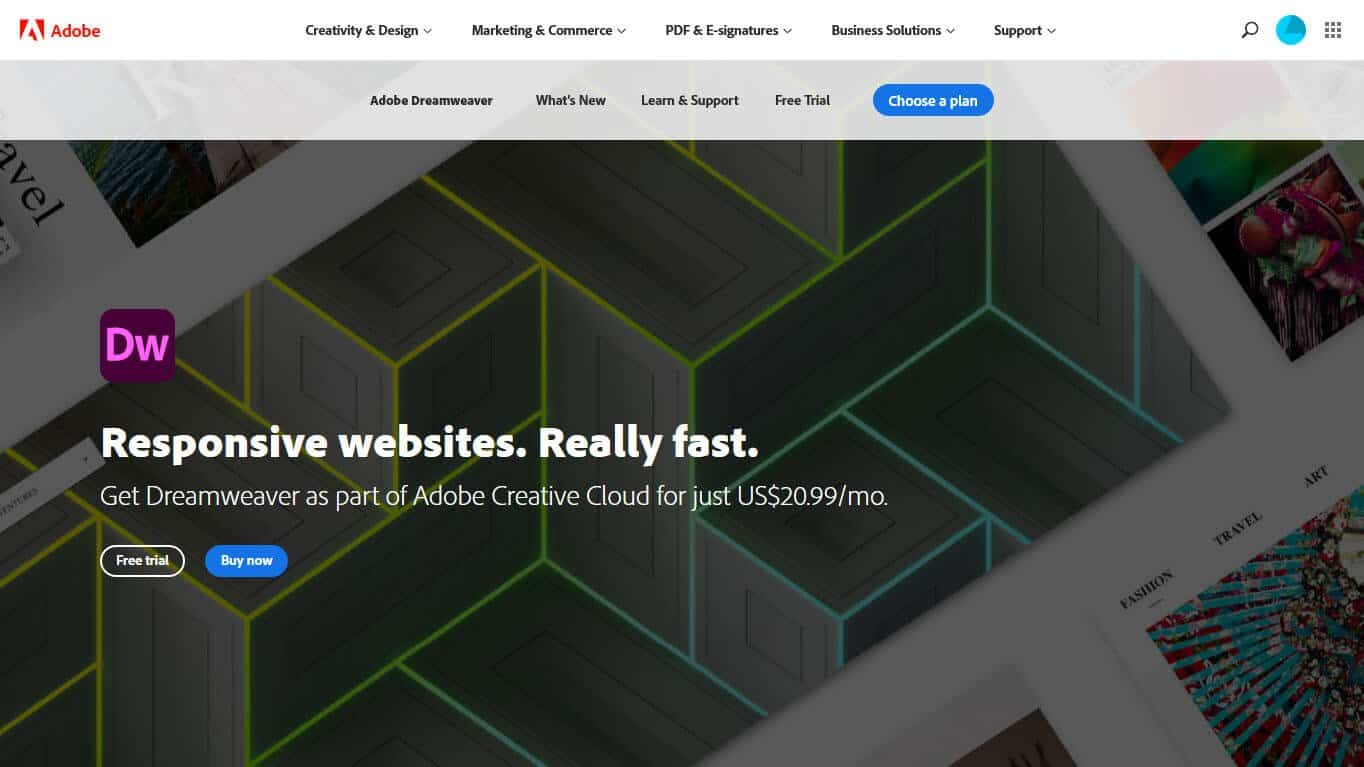
The first step is to purchase Dreamweaver from Adobe official website.
Step 1. Download and Install
You can use the free trial option to try the software. Note that you may need to install Adobe Creative Cloud to get started. It’s the central program that Adobe uses to manage all of its products, whether you subscribe to Dreamweaver, Photoshop, or any of their other offerings. Just follow the vendor’s instructions and you should be good to go.
If you’re already using Creative Cloud, you can just click Try it next to Dreamweaver CC in the client. When the program has finished installing, click Start Trial.
Step 2. First launch
If you are launching Dreamweaver for the first time, you will see this screen.
If you have never used the program, select No, I’m new. When you do this, Dreamweaver will guide you through a setup wizard. The first step is to choose whether to use the developer workspace or a default workspace.
Since this is a tutorial for Dreamweaver beginners, choose the default version. You can then choose a color theme for your workspace from four different options.
The final step is deciding whether you want to start with a sample file, start a new or existing project, or watch a tutorial.
Choose to start with a sample file and you’re done with the setup process. Well done! Now let’s start a project and learn how to create a website using Dreamweaver.
Step 3. Start a new website
The first step is to create a new website create. To do this, go to Site
You can then enter a title for your page. On your real site you would select something descriptive with keywords and not just Dreamweaver Test Site as in the example.

Okay, you just created a page header! It still looks a bit crude at the moment, so next we’ll change that via CSS.
Step 6. Create a CSS file
In case you’re not familiar with this, CSS is it the part that provides all the styling on a web page. You can define colors, element dimensions, fonts and sizes, and much more. We want to use the markup to jazz up our page title and also learn how to change CSS in Dreamweaver.
See also: How to Build a Backend for a Mobile App?
In theory, you can paste CSS directly into the HTML document. However, this is a much less elegant option than what we’re about to do, which is creating a dedicated file for all site-wide CSS styling. You can do this through tools
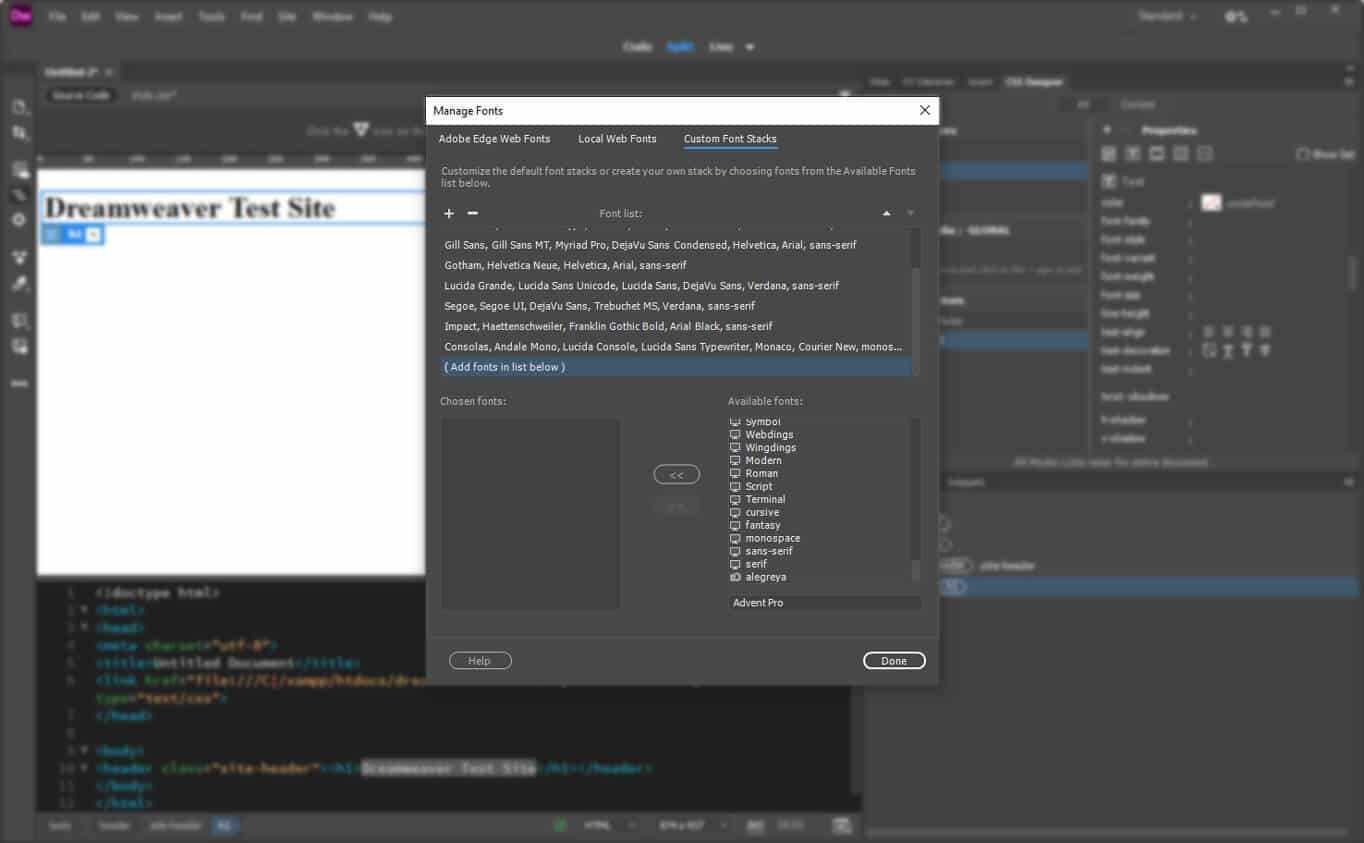
For now, just click Done, then click Default Fonts again. This time, select your chosen custom font and voilá – the change is complete, including all the necessary coding.

If you click on your style.css file above you will see that all markups are present has also been added.

Step 9. Center and resize heading
The text could look even better. The next task in our tutorial is to get Dreamweaver to center it and convert everything to uppercase. For this, the program also offers another feature called Quick Edit.
To use it, go to Code View and right-click on the part you want to edit. In this case it is on class=”site-header”

Select quick edit at the top here. This will open the CSS associated with that element below. If it doesn’t already exist, you will find a New Rule button to create one.
In any case, you can enter additional properties here without having to search through the entire stylesheet file (which can be very long ). To center the text and capitalize it, add the following code:
text-align: center; text-transform: uppercase;
As you type, Dreamweaver also makes suggestions for what to type, making it even easier. This is the code completion feature mentioned earlier.
When you’re done, it will look like this:

Note that the text has already changed in live view. Now press Esc to exit Quick Edit and go to the style sheet. You’ll notice that the new CSS has been added in the appropriate place.
Pretty cool, right?
By the way, if you’re ever unsure of what a CSS property means , just right-click on it and choose Quick Docs (or press Ctrl K). Dreamweaver will then give you an explanation.

Step 10. Add more content
With Based on what you’ve learned so far, you can now create a rudimentary website. Just use the insert function to add more elements and then style them with CSS. To create a sample page for this Dreamweaver tutorial, we did the following:
- Set the background color for the body element and set some defaults for typography
- Wrapped the container element added a background image with an overlay around the header end
- Inserted the navigation bar and created links to other parts of our website (a second font is used here)
- Inserted a page title and description
- Create a .main element with another div inside that contains some written content, a heading and a contact form
- Add a footer to the end with another menu containing links to social accounts and copyright notices
- Added spacing around the elements via CSS borders and padding
- Included colors and some border shadows
Here it is Result :

Code for t The example:
As this is a bit advanced and not everyone will know how to do what we did in this tutorial in Dreamweaver, below is HTML and CSS so you can reconstruct it yourself. First the HTML:
js” type=”text/javascript”menu ul li a { padding-top: 20px; padding right: 20px; padding below: 20px; padding left: 20px; text decoration: none; Color: RGB(168,101,0,1,00); Font Weight: 500; } .social.menu ul li a:hover { color: #333333; } @media (max-width: 375px){ .header-container .page-title { padding-left: 0px; padding right: 0px; } .header-container .page-title h2 {font-size: 2.5em; } }
Step 11. Preview in Browser and Mobile
We would like to use the above as an example to show you the next steps. How did we do all this? Well, first of all, we’re a little more experienced at building websites than you probably are. So we already have in mind the steps on how to create a proper website.
Secondly, we’ve taken advantage of a very useful feature that helps speed up the process: browser preview. Dreamweaver lets you view your web pages in real-time in a browser and even on mobile.
To use it, click the Real-time Preview button in the lower-right corner.
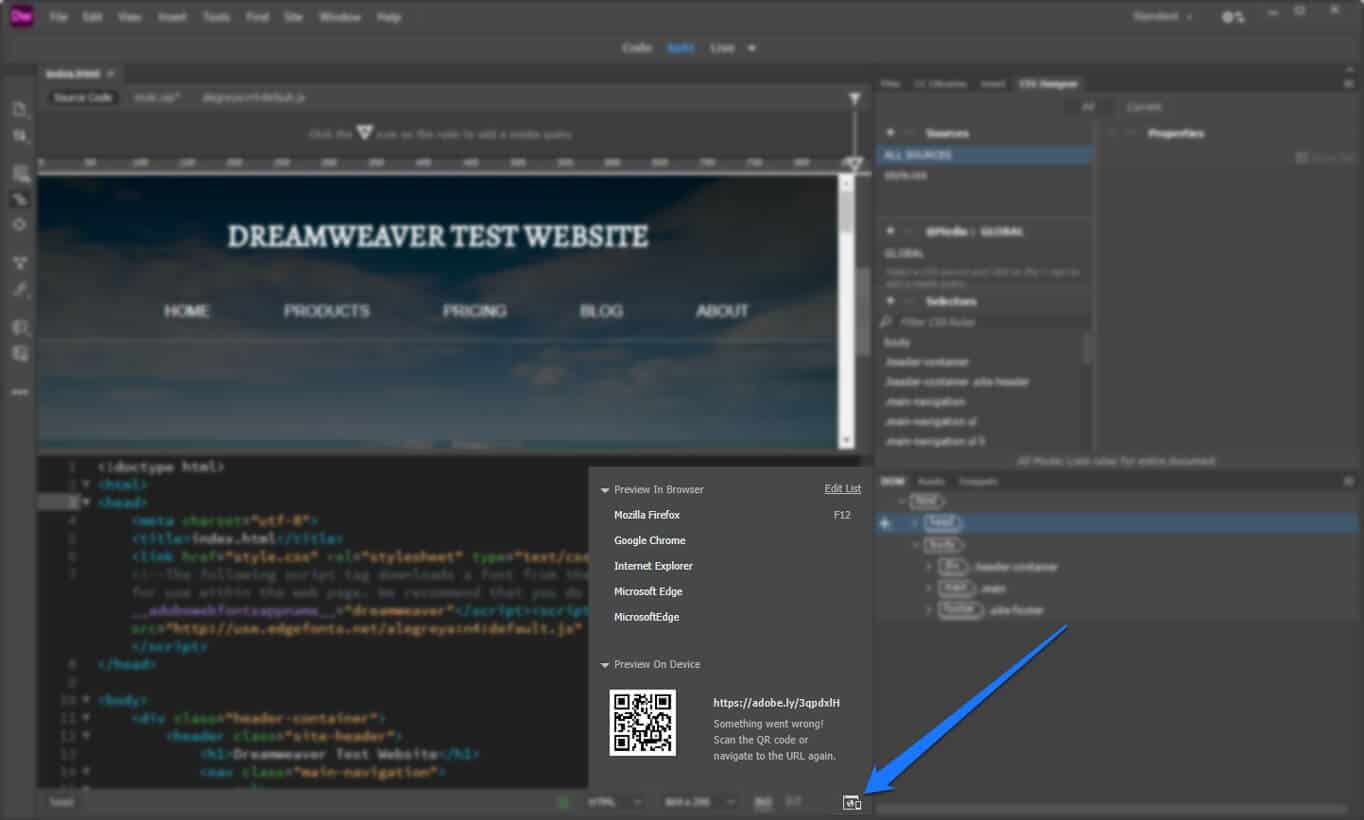
This will open the preview options.
Clicking on the name of one of the web browsers will open your website project in it. You can also scan the QR code with your phone or tablet, or enter the displayed address into your browser to start the live preview on your device.
Just note that you need your Adobe ID and need to enter your password for it. You should have that after logging into Dreamweaver at the beginning of the tutorial.
Best part: Any changes you make in Dreamweaver are automatically reflected in the browser time you build it.
How did this help make the site build faster? First, depending on the size of your screen, what you see in the browser will likely be closer to the actual final product than what you see in Dreamweaver.
Second, it allows you to inspect the site in the browser to use the developer tools to test changes to use.

They’re very similar to what you see in Dreamweaver, but once you’re comfortable with them, you can make changes faster and just copy and paste the code into your style sheet.
A look at the phone version shows that there is still a lot to do.

See also: How to Build a Law Firm Website
That brings us straight to the next point.
Sch ritt 12. Add media queries
So-called media queries must be added so that your website is accessible on all dev ices. These are conditional CSS directives that tell browsers to apply styling only above or below certain screen sizes or on certain devices. This allows you to change the layout for smaller screens.
So far you have only defined global styles. That means the styles applied to the entire site. Now you will learn how to add conditional styles for smaller screens.
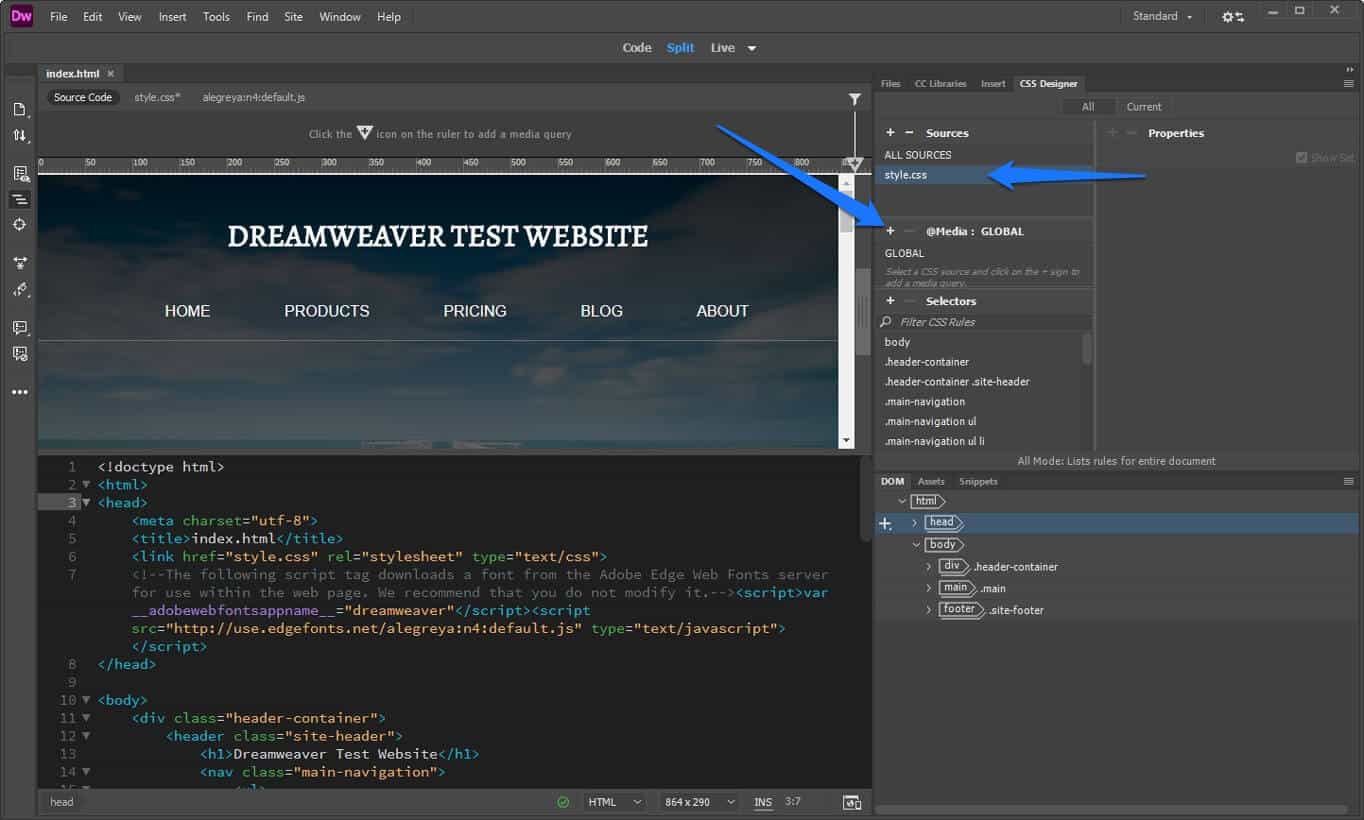
First go to CSS Designer. Make sure the file you want to add code to is selected under Sources. Click the plus sign under @media.
You will get this radio button:

You can define conditions for media queries, e.g. B. the devices they refer to, orientation, resolution and much more. You can also add multiple conditions with the plus sign.
More important for our example is the maximum width setting. This allows you to define custom CSS that only applies to a certain maximum screen size.
Let’s say you want to fix things on the phone first, so enter a maximum width of 375 pixels. If you do this, you can see the CSS code below.

What will also happen when you click OK is that a green line will appear at the top of the screen. This represents the media query visually. Double click on it and the screen will automatically jump to this size.

Step 13. Add conditional CSS
To fix the theme for mobile, the first thing we need to do is make the page title smaller. There is definitely not enough space for that at the moment. You can do this the same way you manipulated CSS before, only this time you enabled media query while doing this.
First navigate to the element in your DOM view. From there, create a new CSS selector for it. Set a smaller font size than it currently is and remove the padding from the parent. It looks better right away, doesn’t it?

In the same way, you can change the CSS of all other elements on the page so that they all look correct. You can use the same method to adjust the layout for tablets and other sizes. That’s basically all for media queries.
Pro Tip: Don’t optimize for specific devices and their sizes, create media queries depending on your layout. That means playing with the screen size and adding queries in the places where the layout doesn’t look good anymore.
One more thing: you can also create media queries a little more easily by using the Device Sizes preset in the bottom corner and/or click the plus icon at the top once you’ve found a place where you want to add one.

Step 14. Upload your website to the servers
To make your website public you need a web server, which you usually get when you sign up for a hosting account. If you don’t already have web hosting, check out our recommendations for the best web hosting providers.
Once you’re done with the design part, you’re pretty much ready to upload the website to your server. As mentioned at the beginning of this tutorial, Dreamweaver makes this very easy too.
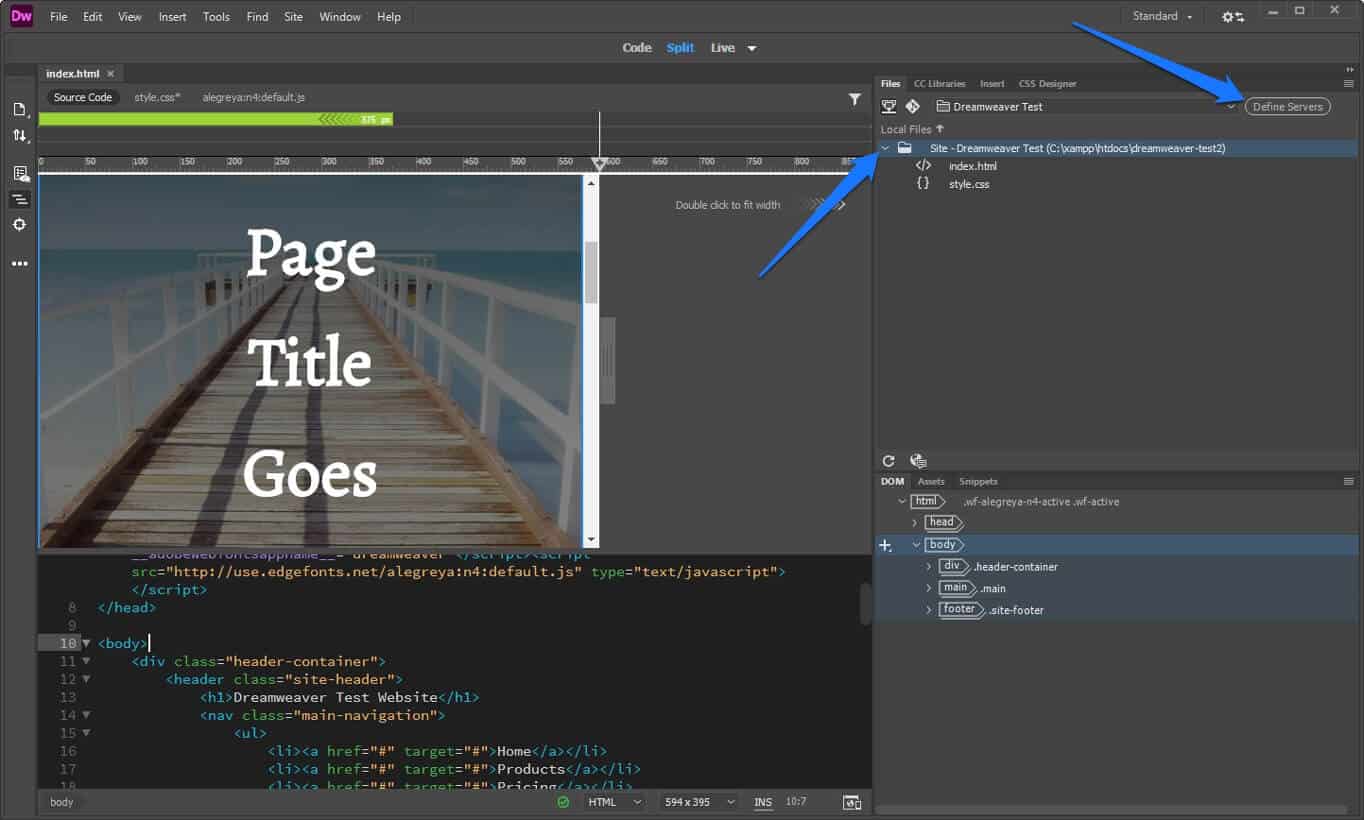
In the top right corner, go to Files. Make sure you’ve selected the correct website from the drop-down menu. Then click Define Server.
In the following screen, click the small icon to go here:

Enter all necessary data to connect to your FTP server. The name is up to you, the rest (FTP address, username, password) comes from your hosting provider. Don’t forget to specify the directory in which to place the files and the web address of your live site! The last part is important for Dreamweaver to create page internal links.
Under Advanced you have some more options. You can usually leave things as they are. Click save twice and you’re done.
Now go back to the files window and click the icon to connect to your server. Once connected, select the files you want to upload by clicking the up arrow. Your website should then be available via your web address.

Well done! You’ve just created and uploaded a simple website using Dreamweaver!
Dreamweaver Tutorial – Final Notes
Dreamweaver is a fantastic website builder. It combines an intuitive user interface with a full-fledged code editor. This mix makes it easy for beginners, intermediate and advanced users to create high-quality websites.
In this Dreamweaver tutorial for beginners, we introduced you to Dreamweaver and what it can do. We showed you how to set up the program and get started with your first website. You have learned to create a basic HTML structure and style it with CSS. We also discussed how to make your website mobile responsive and upload it to your server.
Now you have a solid understanding of how to use Dreamweaver to build a website. Now it’s up to you to dive deeper and figure out the next steps.
Remember: Dreamweaver is just one way to build a website. There are many more and you can find a lot of information here.
See also: 20 Resume Objective Examples: Career Statement for All Jobs
.