Photo by Melinda Gimpel on Unsplash
Dealing with improved UX can take time and money. Oftentimes, your website visitors’ problems need to be fixed with simple tweaks. This begs the question:
Reading: How to create an email form in html
“How do you know if customers are enjoying your website?”
The answer may be simpler than you think. Strategically placed, well thought out web forms are critical to resolving customer experience dissatisfaction and understanding if they are truly enjoying the experience you created for them.
If you don’t have a form on your website, you may be missing out on more leads, higher conversions, and happier long-term customers. We’ll walk you through creating a specific type of form – one that emails you and the customer to ensure the form has been received.
We will start with the old and dirty way, then we’ll show the easiest and most customizable way with Getform.
How to get email from an HTML form
Let’s start with the basics first.
Option-1: Use the basics of HTML
Sending an email with only HTML after submitting the form. Here is a sample code to use:
Name:
Email:
Message:
Simple HTML form that “triggers” an email.
This sample HTML code creates a form that asks for the contacts name, email and message and includes a button to submit the form.
Another thing to note about this code is that it doesn’t send directly to email addresses, it opens an email client or tool window to submit the form.
As long as you can only use plain HTML, this isn’t the ideal option. Because browsers would allow you to direct form submissions to an email address. However, the reason for this is that emailing directly from an HTML webform would reveal the visitor’s email address, leaving the user vulnerable to malicious activities like phishing.
Another Problem with the mailto: option is that it’s not 100% compatible with all browsers, it’s not very user-friendly and it’s not possible to control the formatting of the data when the form is submitted from the browser.
Let’s move on to the second option.
Option-2: Manage your own form backend. Really?
This is a rather technical and dirty path that definitely requires specific technical skills. Can also cost your time and effort. To make your form work with your email server and send it to a mailbox, a backend framework, in this case PHP, is the answer.
See also: How to Build a Backend for a Mobile App?
When the form is submitted, the browser sends the information to the backend with the link mentioned in the “action” attribute of the form tag, which sends the form data to this URL.
Use PHP to create a new page
- If it’s you If you’re creating a web page, instead of the “.html” extension, type “.php” instead.
- This tells the server to host the PHP you write. Instead of saving the blank HTML page as such, save it like this: “subscriberform.php”. After your page is created and saved, you can create the form.
Use PHP to create a new page
In this step I write the code, to create the form. The following code is required for a simple form:
Because this is similar to pure HTML writing, these lines also create a name for the form and an area where subscribers can enter a custom message and submit it you.
One important difference is the “action=contact.php” part. This piece of code makes the page submit the form when it is submitted. This is the added part to the first option.
Create forms to send emails.
Once you have created the form and added all the right fixations according to your design preferences, it’s on the time to create it the email part. To enable data to be sent in the email, we need to add code that handles the data. Copy or paste the following code:
Remember that everything in the first and last lines of the web page tells these functions to run as PHP. This code also checks if a subscriber is using the form. From there it checks if the form has been submitted.
If we break down the code above.
- The “mail()” part emails the completed form to “[email protected]” and the subject line is the following.
- In the next line you can put a copy of the e-mail message in the quotation marks to be sent from any e-mail address. In this case of “[email protected]”
Once the form is submitted, the site sends the data to itself. If the data is successfully submitted, the site sends it as an E -Mail. The browser then loads the HTML of the page – including the form.
Managing your own form backend can be messy and is not an optimal option. That brings us to the third and easiest option.
Option-3: Use a forms backend platform like Getform
We know that the first option is not really helpful and the second one Option is definitely not easy and not for everyone.
That’s why forms backend platforms like Getform are a great way to make your HTML forms send an email. Another advantage of a forms backend platform is that it has no framework or language dependency and works well with static websites like Hugo, Gatsby, 11ty and Jekyll.
1. Creating a form on Getform
Any form created on Getform can easily send an email to multiple recipients. Let’s set up a form that sends an email to multiple recipients.
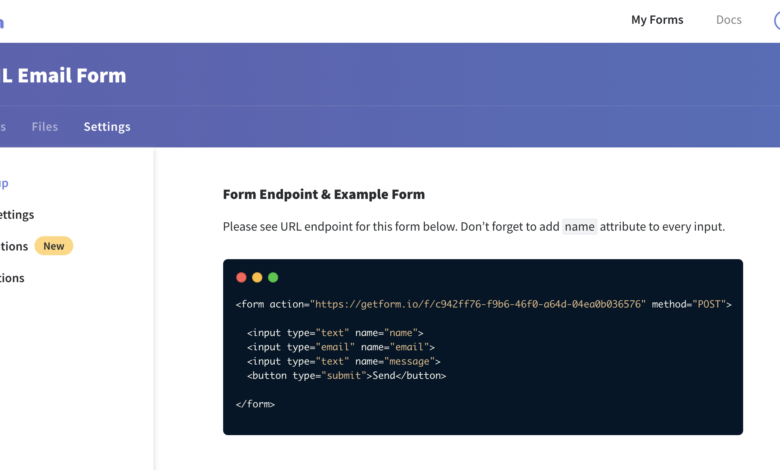
- Log into your forms dashboard and create a form called “HTML Email Form “. This is what your dashboard will look like after you create your form:
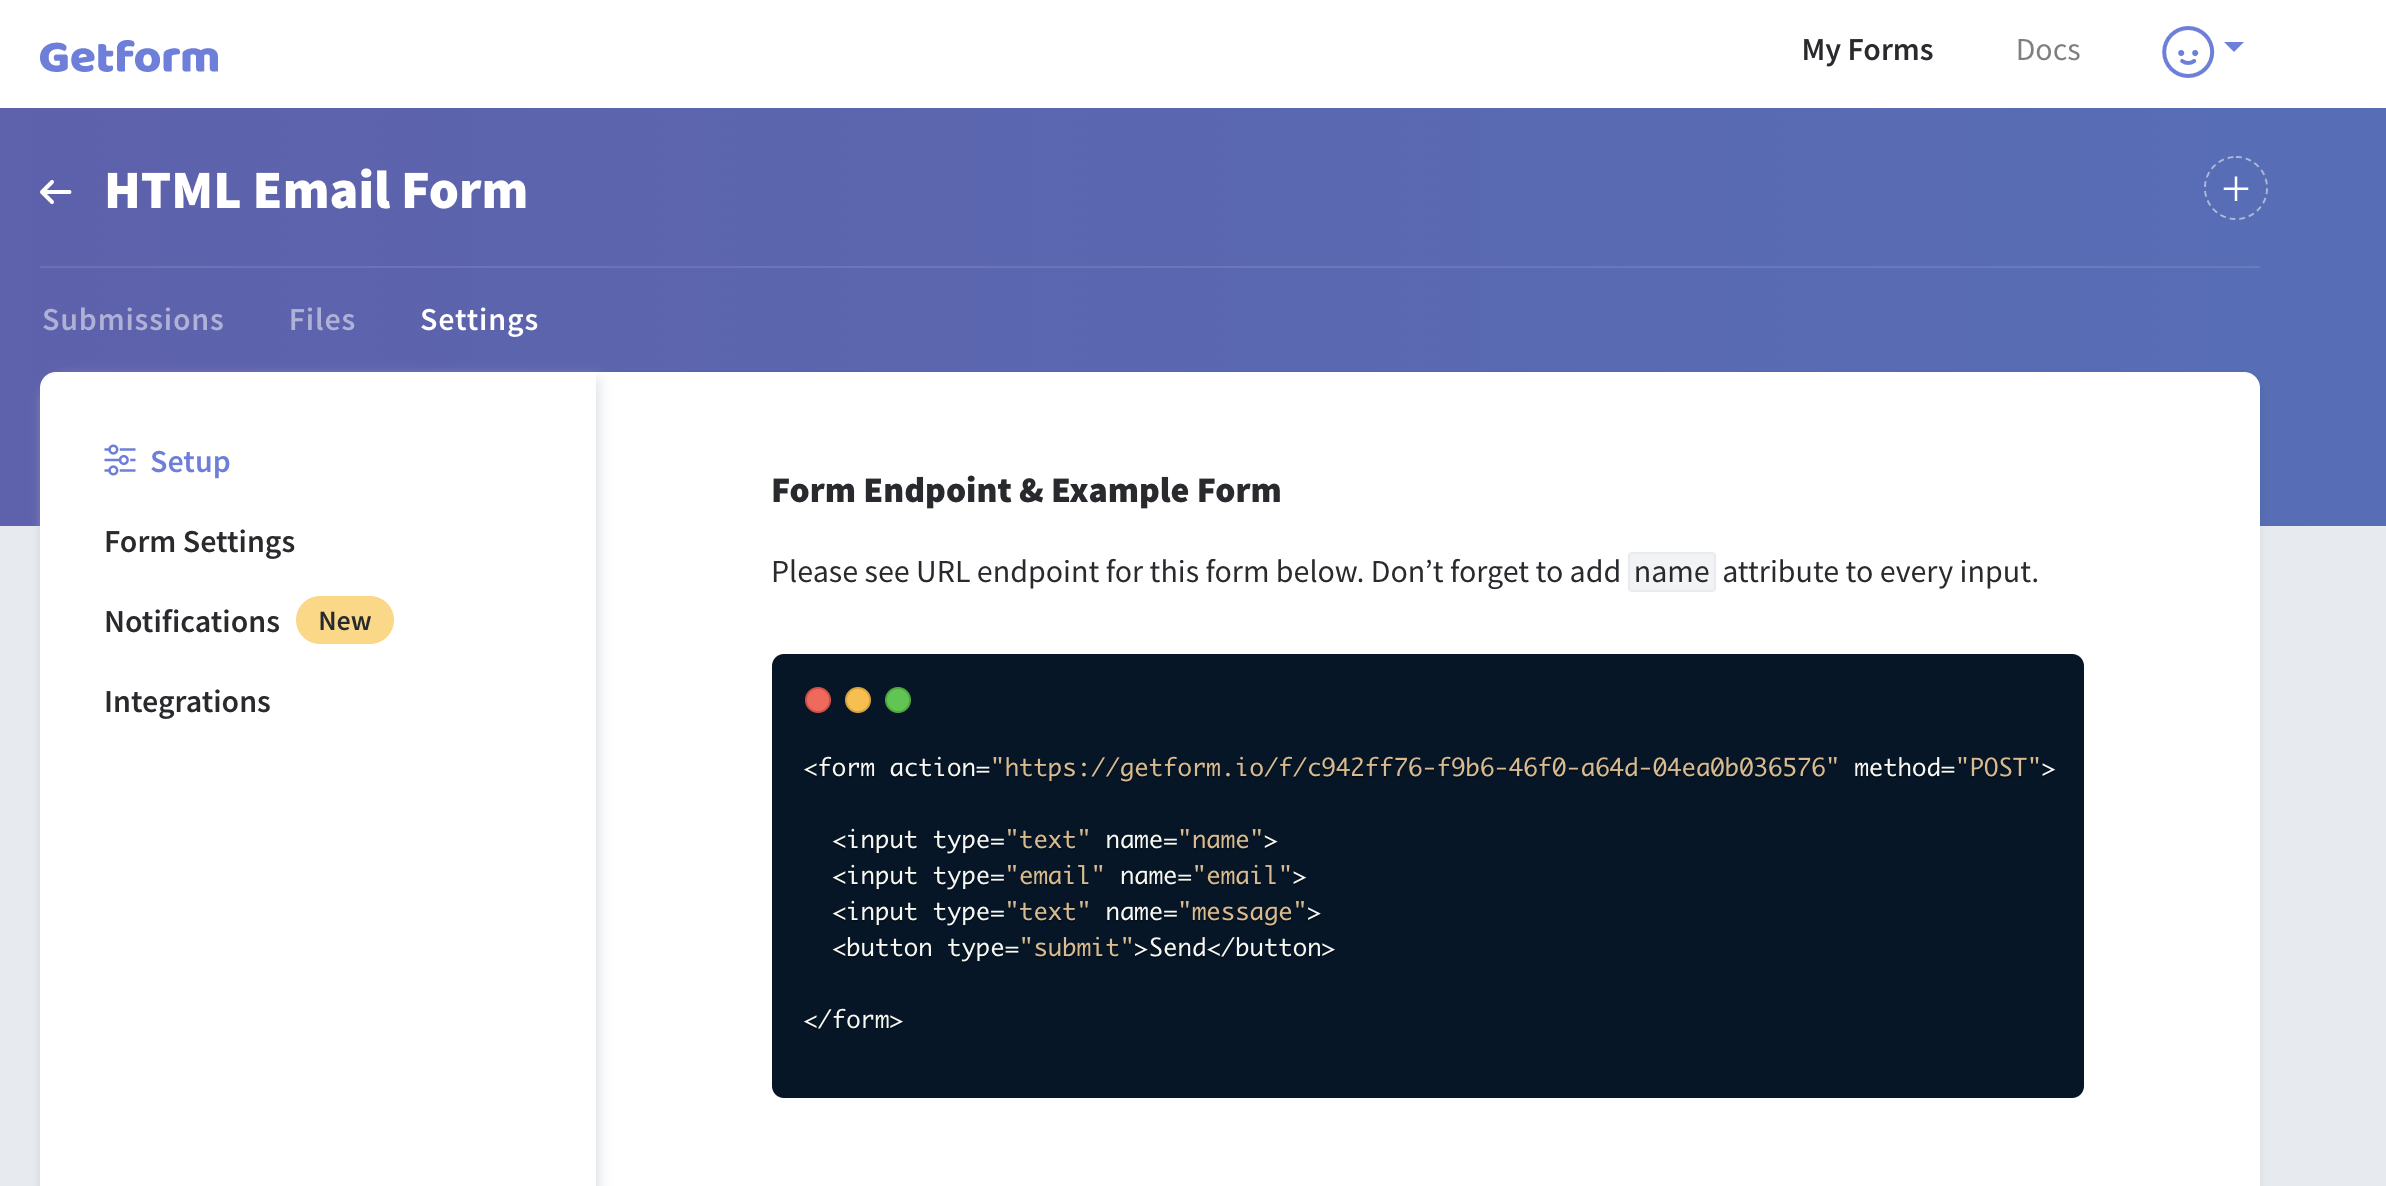
- Getform will automatically create a unique form endpoint and use it to display basic HTML form code.
- We’re going to change our HTML a bit to make it usable on any HTML page. The sample code below is sample form code with 3 basic fields; Full name, email, and message fields.
- At this point, we’re ready to fill out our sample form to receive our first submissions.
- After we fill it in and click send, your data will be automatically sent to Getform and will look like this:

2. Set up email notification for your form
We’ve successfully received our first submission. But our form still doesn’t send us an email. Let’s set up an email notification.
- Go to “Settings” and select “Notifications”.
- In the “Email notification” section, you have a text field where you can enter email addresses that you want to be notified by email. For our case we entered “[email protected]” and “[email protected]”. Click Save Changes to complete this step.

- Let’s make another submission to our form and see if that E -Mail addresses that received the submission data as an email.
- More importantly, the submission email arrived at the email addresses we had. have occurred!
See also: Django Tutorial Part 5: Creating our home page
We have created an HTML form that will send you an email with just a few clicks. So easy and free!
3. Set up custom email notifications
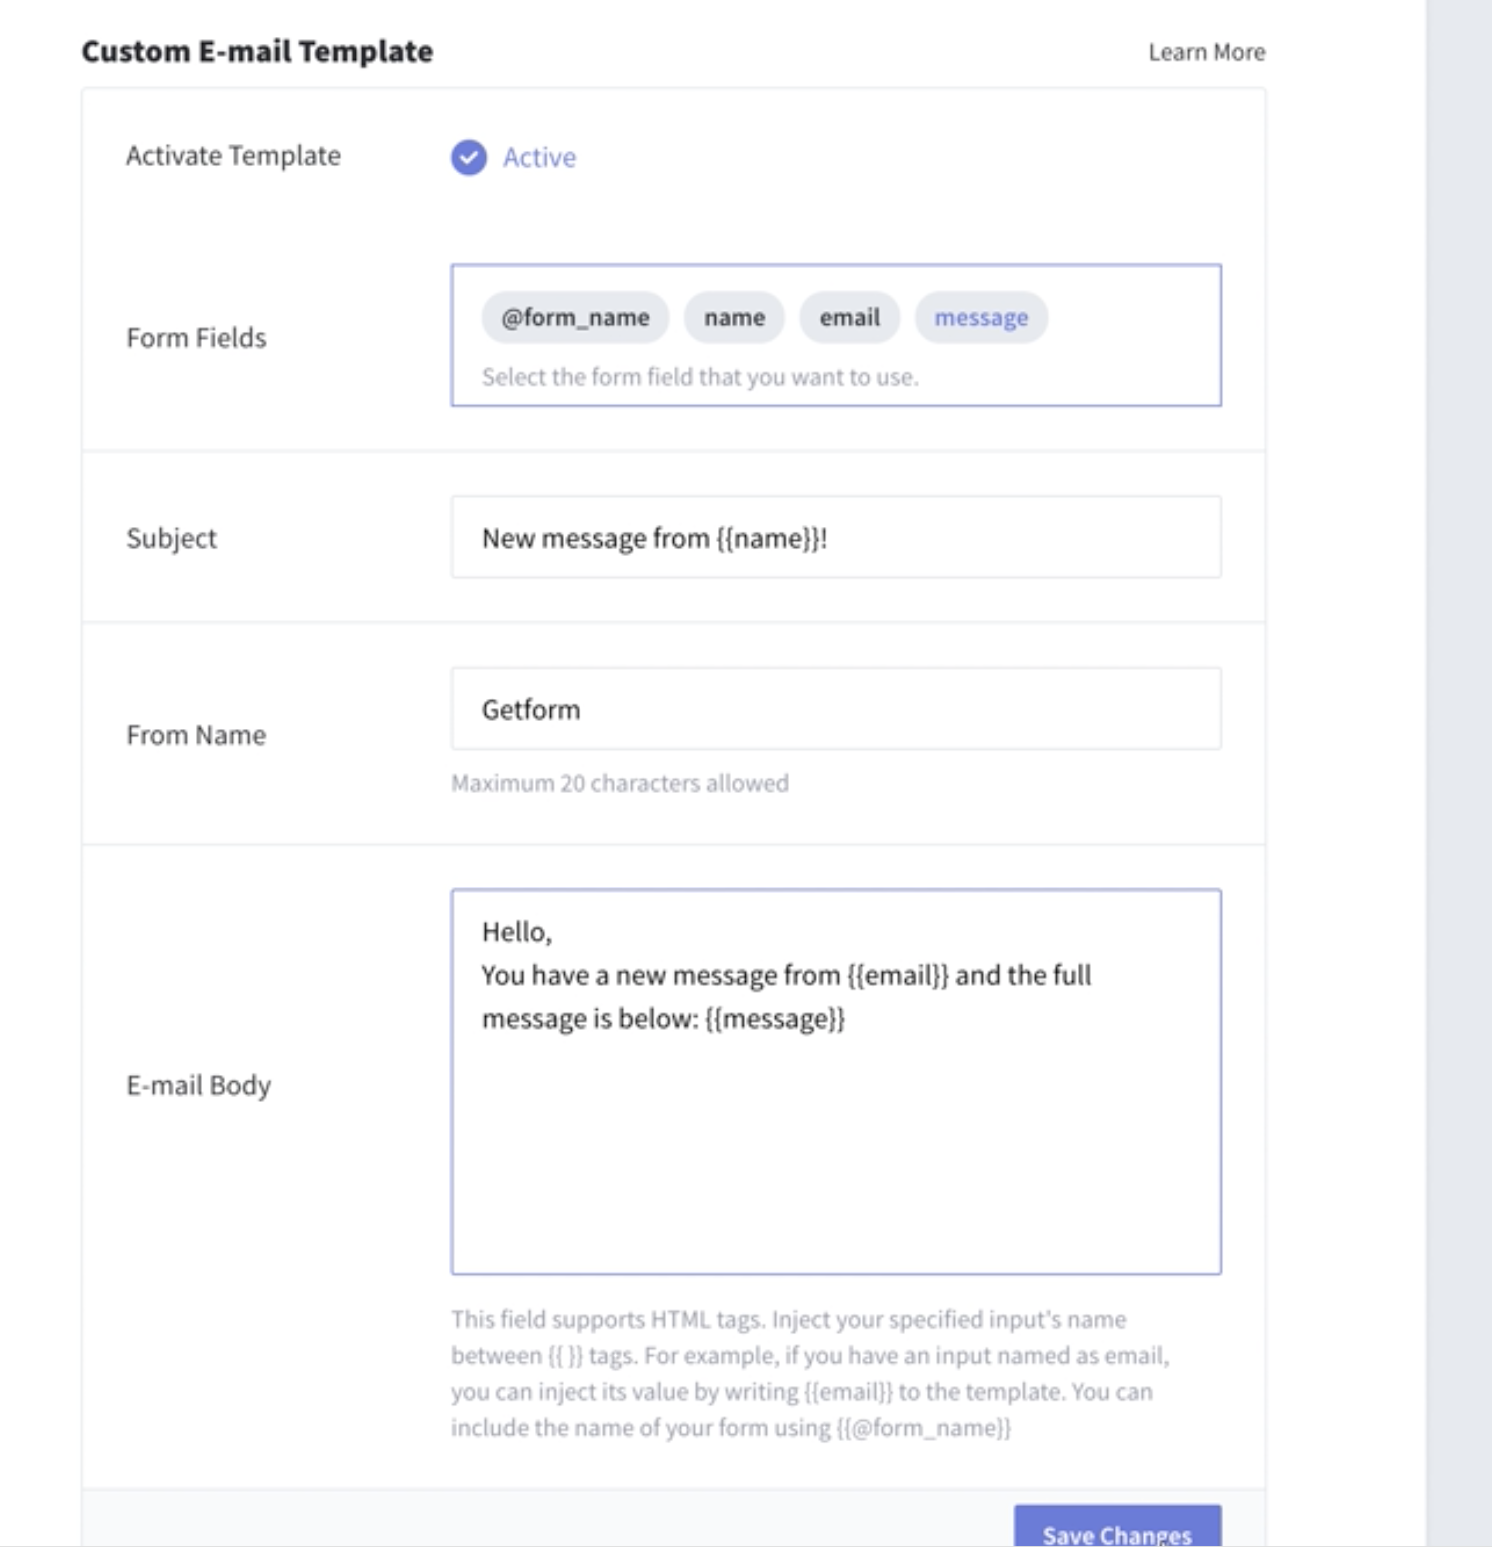
If you want to have full control over the emails you send from your HTML form, Getform offers a Custom Email option notification”.
After you’ve successfully received your first form submission, your custom email template section will contain email, name, and message form fields as embeddable tags. Use double brackets for the related fields. For example, if you have an input named email, you can insert its value by writing {{email}} in the template.
Note: If you want to get the Name of your form, you can embed {{@form_name}} in your template.
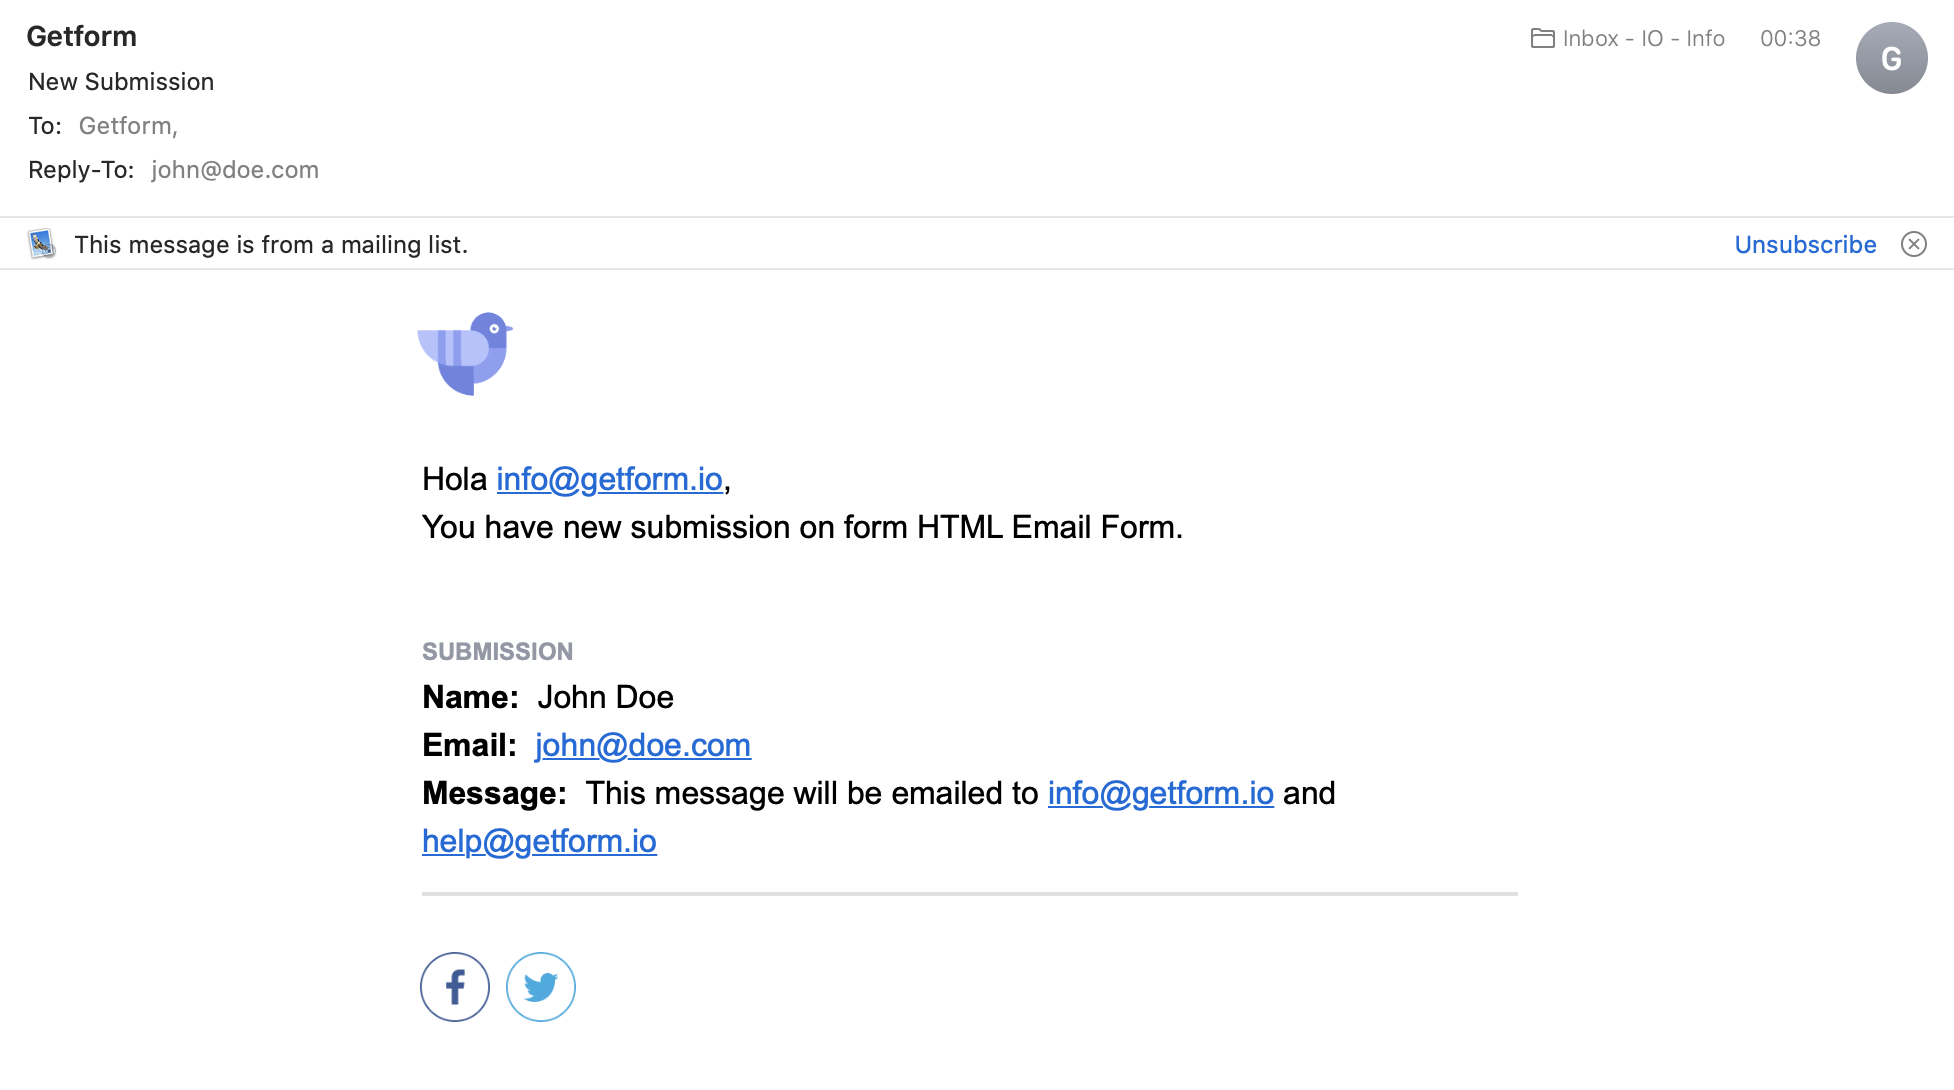
- When you receive a new submission to your form, your email notification will be sent to your registered email address with your new setup. The sample email template looks like this:

4. Set up autoresponders for form submitters
Similar to custom email templates, you can also send automatic email replies to your form submitters by setting up auto-reply emails.
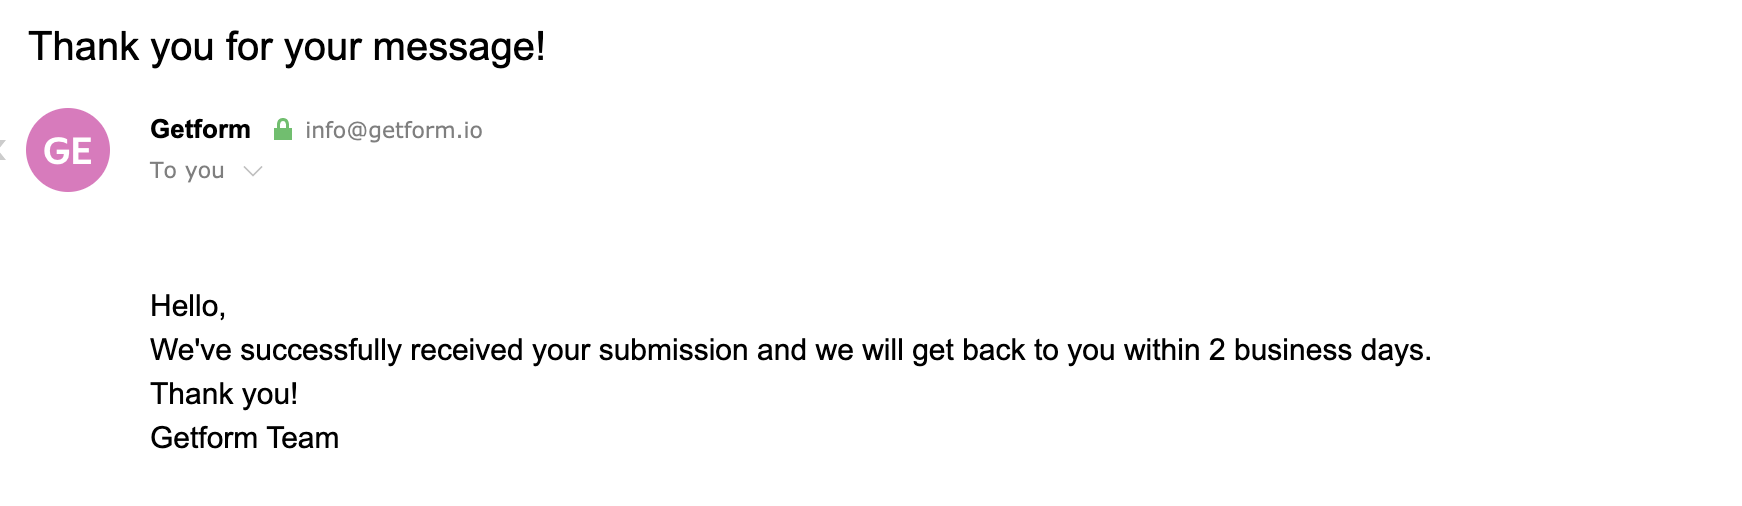
After you’ve successfully received your initial form submission, your autoresponder email template section will include email, name, and message form fields as embeddable tags.Please note that your form must contain the type=”email” field in order to receive the email address to send the automatic reply emails.
- If you make a new submission to your Form received, your auto reply email will be sent to your form sender. The sample autoresponder looks like this:
Option 3 provides a much simpler workaround for simply sending email from your HTML form and also gives you the ability to set up custom email alerts and custom autoresponders to help you create a complete forms experience.
Final Thoughts
We hope this one Article helped you learn the easiest way to send an email from an HTML form. If you like this article, please share it and follow us on Facebook and Twitter for more updates from our blog.
Ready to start?
Start building your first form and send an email to multiple recipients in just a few clicks.
Thanks for reading! We are constantly improving Getform by listening to you, leaving us your feature requests at https://getform.nolt.io or voting on the existing ones.
Check out our Codepen page, Codesandbox page, Github page and documentation for more information and examples.
Mertcan from the GetformForm backend platform for designers and developers
See also: How to Start a Nutrition Blog, for Dietitians
.