In this guide, we have shared the steps to build a free website on the WordPress.com platform. There is a big difference between WordPress.org and WordPress.com, I will cover the differences in a separate post, because for now all you should know is that you can create a free website on WordPress.com, not WordPress.org. Here we show you how to build and host your website on WordPress.com for free.
![]()
Reading: How to create a website for free wordpress
Let’s start building a website step by step.
Step 1 : Login to WordPress.com
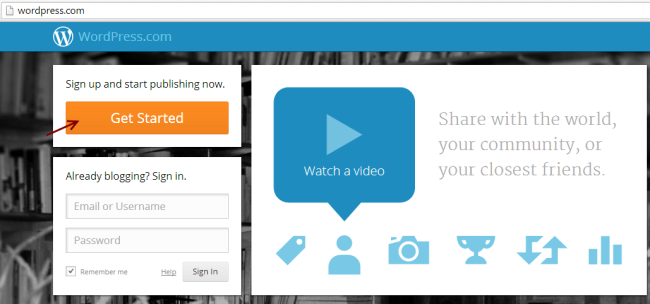
First you need to login to WordPress.com, so go to http://wordpress.com/ You would find a screen like the one below. Click Let’s go. You will be redirected to a login page.
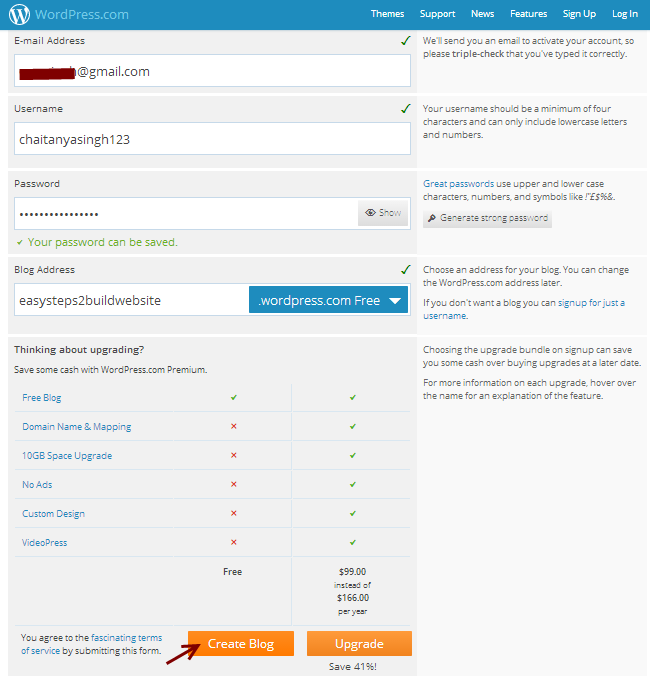
Fill out the registration form. The fields you need to provide are email address, username, password and blog address (domain name). Click Create Blog!
There are a few things you need to know – The domain name you choose will be appended with WordPress.com (since you use the WordPress platform to create a free website use), for example I choose a blog name as easysteps2buildwebsite and it was automatically appended with wordpress.com so my full domain name (website address) is easysteps2buildwebsite.wordpress.com.
Step 2: E -Confirm mail and activate blog
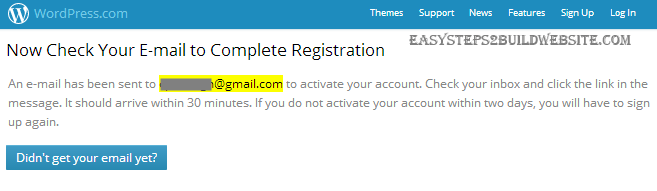
Once you are done with step 1, you may see a screen like the one below asking you to confirm your email address.
See also: High School Resume: A Step-by-Step Guide
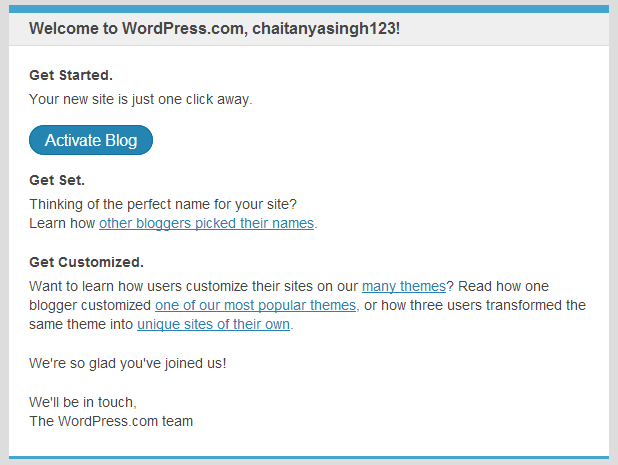
Go to your email Mail and click Enable blogging! to confirm the address. The email you will receive will look like this.
Step 3: Set up your blog
Once you’re done with step 2, after a few details about your new website, you’ll like the blog asked title, tagline and language. Click Next Step after filling out all these details.

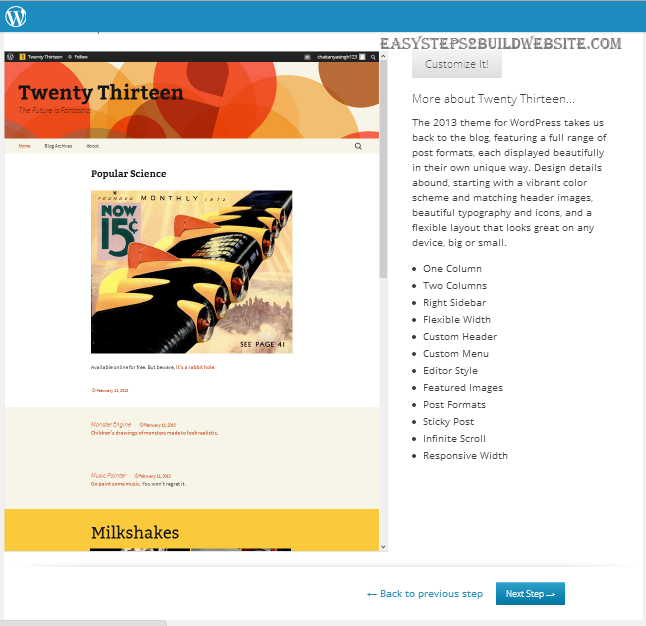
Step 4: Choose and Customize WordPress Theme
In this step you need to choose a theme select your site. There you will find both free and premium themes. Choose one of the free themes, select it and go to the next step. You can also search for more free themes at http://theme.wordpress.com/themes/sort/free/.

Customize the theme if you want, otherwise click Next step
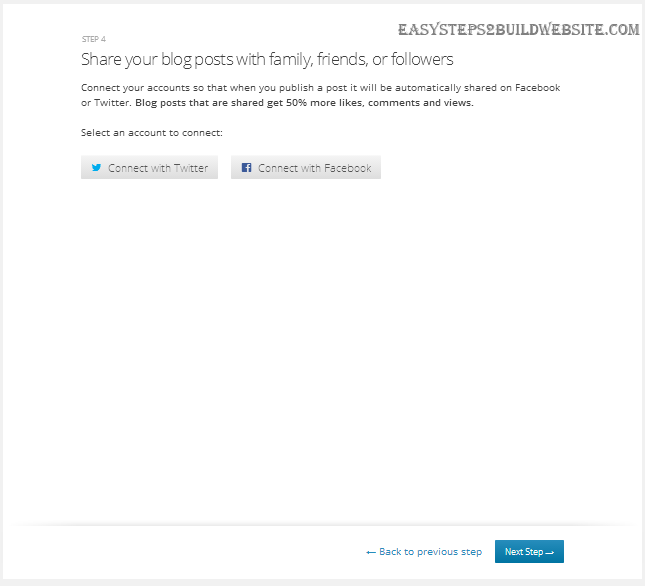
Step 5: Connect to Facebook or Twitter
You can configure your Twitter and Facebook accounts here. You can also skip this step and go to the next step. You can configure these items later.
See also: How to Make a Logo in GIMP
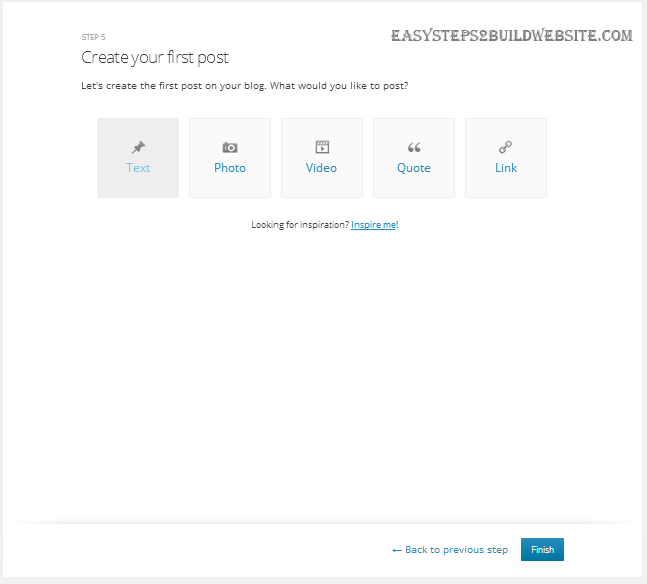
Step 6: Complete the process
Click on “Finish”! You have successfully created a free website on WordPress. It’s time to check how the site looks.
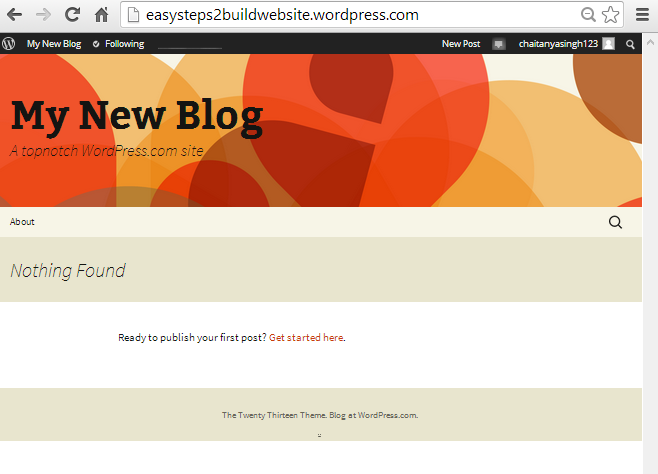
Step 7: Visit your newly created website
Go to the browser and enter your full domain name (URL of the website). You can view your website. Cool what! The whole process only took a few minutes to set everything up. Wait!! We’re not done yet, it’s just the beginning, you would need to change the look and feel of your website to make it look attractive. You can do this by referencing the next section.
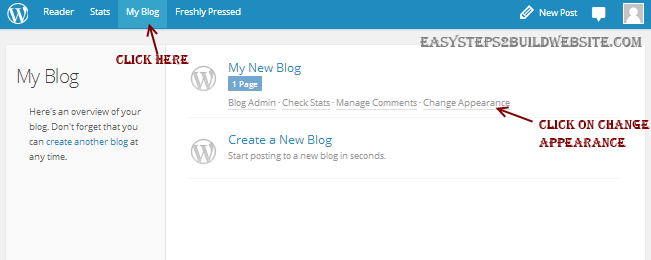
Change Appearance
To change the look and feel of your newly created website. Click My Blog in the menu bar and then click Change Appearance. Refer to the snapshot below.
You would find the following screen. This is your WordPress dashboard. There’s a lot more you can do from the left sidebar. We are in the Appearance tab in the left sidebar where you can customize the existing theme and switch between new themes.Can you see the left black sidebar? Before I end this tutorial, let me cover some basic things about the sidebar.
- Dashboard: For WordPress, plugins and theme updates.
- Posts: To edit, delete and create new posts.
- Media: To manage and upload new media files such as images and videos
- Pages: To manage and create new pages in your blog.
- Comments: To moderate comments – Here you can approve, delete comments and answer the comments.
- Appearance: We’ve covered it before – for trying out new themes and customizations.
- Settings : Many more things to do. Go through the settings and configure them as needed.

Final words
That’s it. I’m pretty sure you must have created a cool website for free by following the steps above. If you have any questions or doubts about this, please leave a message in the comment section below. We’re here to help. Share your views and ideas on this to make it more informative so even a beginner can do it on their own. If you like the tutorial, share it with your friends on Facebook, Gplus and Twitter.
See also: Wait! Did you know these 3 things?
.