When you edit a live website, any changes you make are implemented immediately. That means if you want to try new coding or experimental software, you could break your website and discourage new visitors.
To solve this problem, you can create a local offline version of your website. This allows you to run and edit WordPress without needing an internet connection. By installing your website on your PC, you can test new features, learn how to use WordPress and finally go live with your changes.
Reading: How to create a website in wordpress offline
In this post, we explain why you might want to create a WordPress page offline. Then we’ll show you how to do it with DevKinsta. Let’s get started!
Watch our video guide on building a WordPress website offline
Why you should build an offline website
If you’re a website owner, you probably already know that performing simple administrative tasks can negatively impact your live content. Often software updates, reinstallations, and code-based changes can cause downtime or other issues.
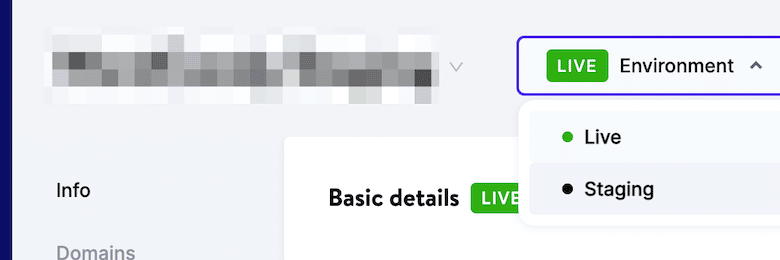
An easy way to avoid corrupting your website is to create a staging environment. By making a copy of your live site, you can safely test development changes. Kinsta even lets you set up a staging site with one click:

However, there are times when you might edit yours want website completely offline. For example, if you don’t have access to Wi-Fi, you won’t be able to open a staging site.
Fortunately, you can save a local version of your website to your computer. After creating a WordPress site offline, you can make changes without an internet connection.
If you’re a professional developer or designer, you probably need to work on your clients’ websites offline. Once you clone them and work locally, you can develop successful coding improvements without affecting the live content. You can then easily push those changes back to the original website.
In addition, local websites can provide an effective way to learn how to use WordPress. If you are an absolute beginner, you can create a new offline website before you buy a hosting plan or domain. This can reduce costs when experimenting with local WordPress development.
When you edit a live site, any changes you make are implemented immediately. 😅 Building your website offline can make things easier 😌 Click to Tweet
How to Build a WordPress Site Offline (In 3 Steps)
Now that you’re realizing the benefits of using a local WordPress site, let’s discuss how to create one!
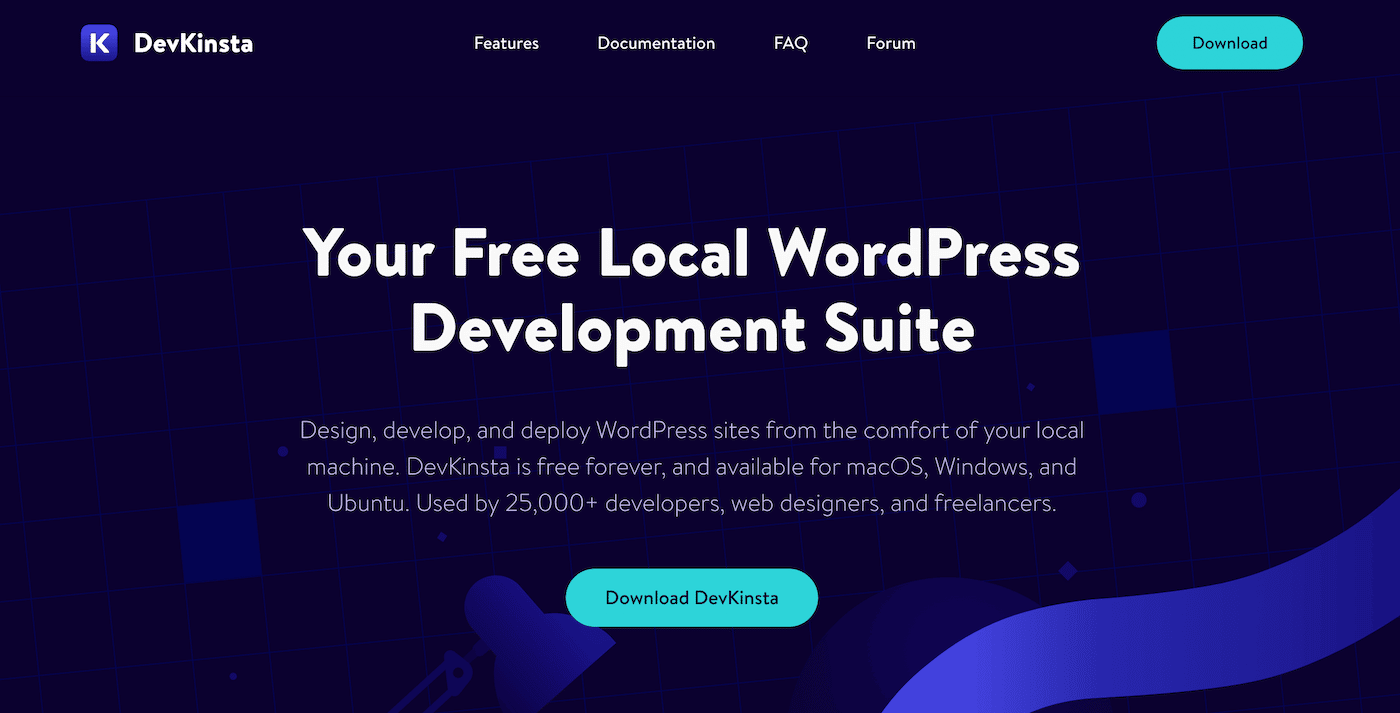
Step 1: Install DevKinsta
Although there are many different local WordPress development tools that you can use that have complicated setup processes. DevKinsta lets you create your first local environment with a single click:
Here are some of the high quality features we’ve built into DevKinsta:
- Support for PHP 7.2 – 8.0
- Integration with MyKinsta
- Local email management
- Built-in database manager
See also: Website Marketing for Small Businesses: The Ultimate Guide
DevKinsta can support macOS, Windows and Linux operating systems. However, before downloading our local development tool, it is important to ensure that your computer meets the following requirements:
- At least 5 GB hard disk space
- At least 1 GB RAM
- Internet connection during download
- Virtualization enabled in BIOS
Then the installation process depends on your computer’s software. You will likely need to install Docker Desktop before downloading and opening the DevKinsta DMG file.
Step 2: Add a new site
Once you have DevKinsta installed, you can choose three different ones use methods to create a local WordPress website. To make sure you choose the right one for your needs, let’s walk through each approach.
Method 1: Add a New WordPress Site
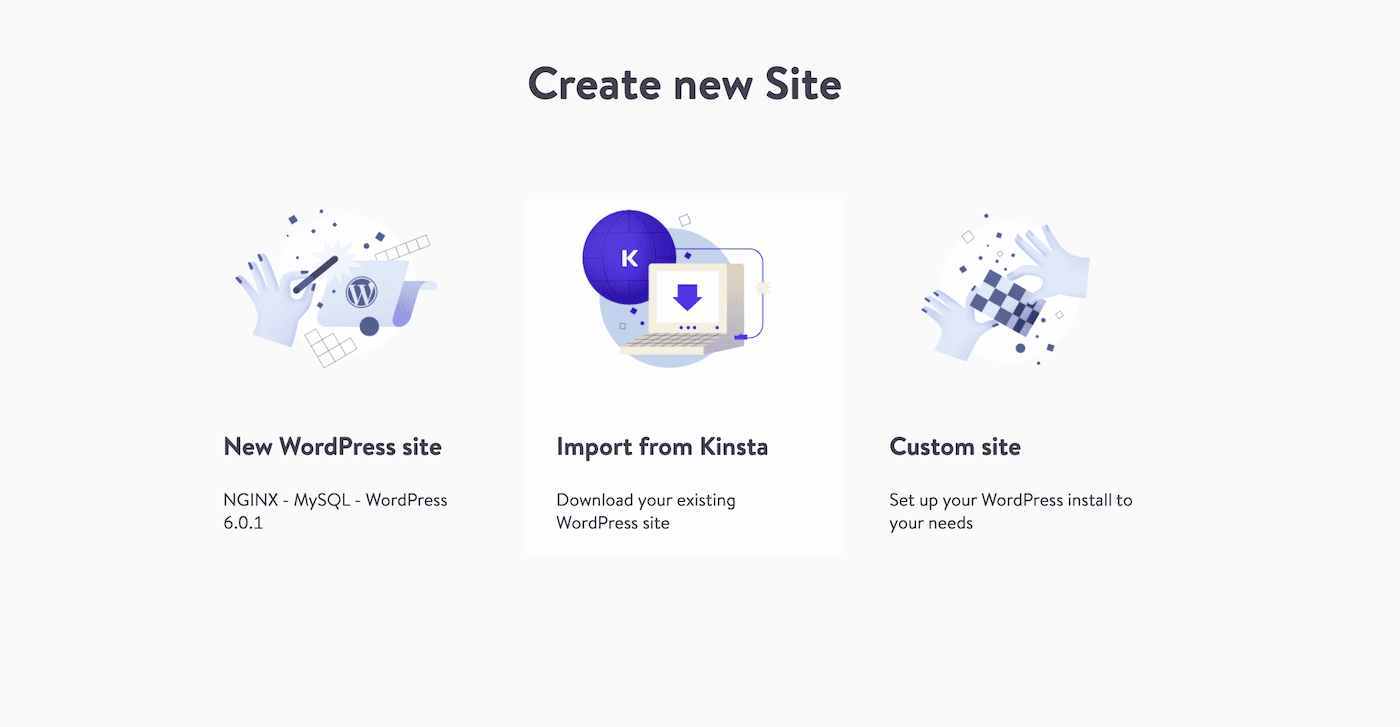
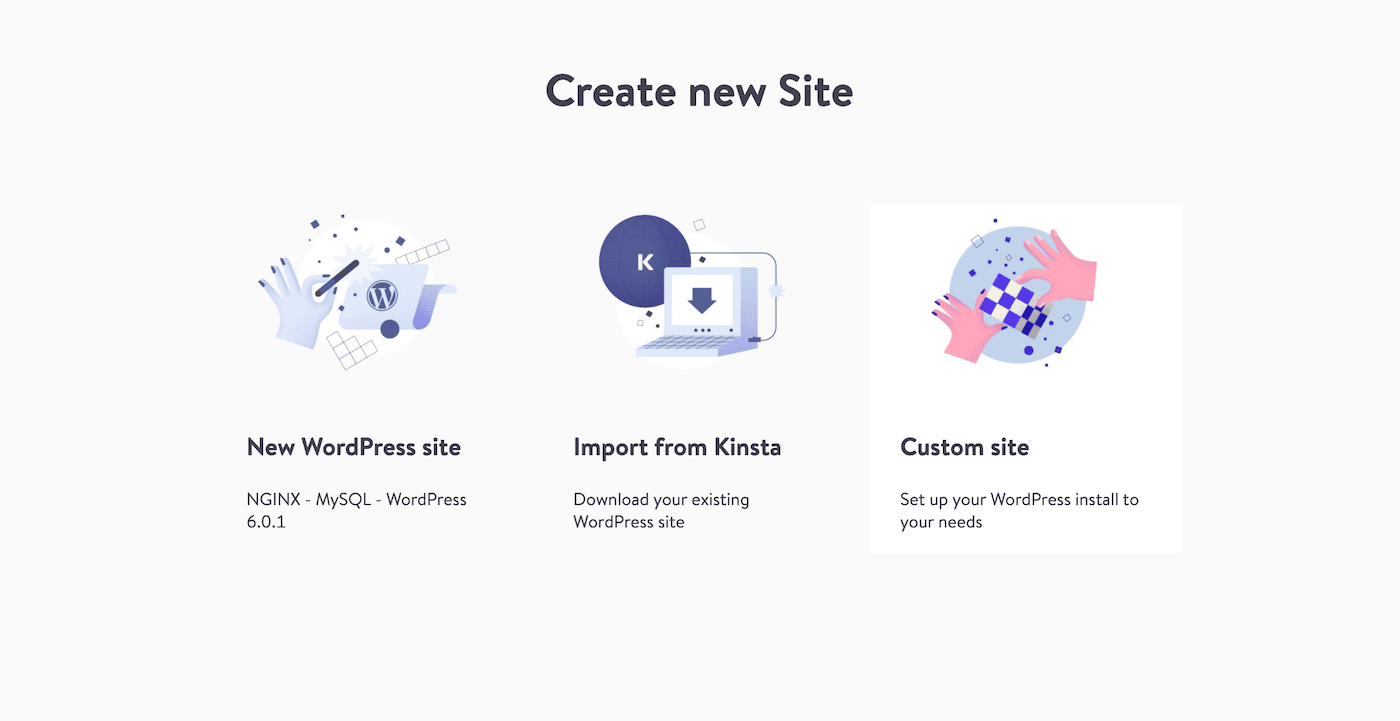
Once DevKinsta has been properly installed, you will see a Create New Website page. Here you can either add a new WordPress site, import one from Kinsta, or create a custom version:

To create To create a completely new WordPress website from scratch, select New WordPress Website. This creates a local environment configured with Nginx, MySQL, and the latest WordPress software.
This method simply requires you to enter a site name, WordPress admin username and WordPress admin password. Then click Create Site:

After 30-60 seconds, DevKinsta will create a new page. You can see information about the new database, server, PHP version and more:

During this process you will probably need to enter your computer password or accept a confirmation dialog. This allows the software to make changes to your hosts file and finish creating the database.
Method 2: Import your Kinsta site
If you have a The Kinsta hosting plan allows you to clone your existing website. This way you can easily push any changes back to your original staging environment or live site. First select Import from Kinsta:
Next, you need to connect your MyKinsta account. When you are finished entering your username and password, click Sign In:

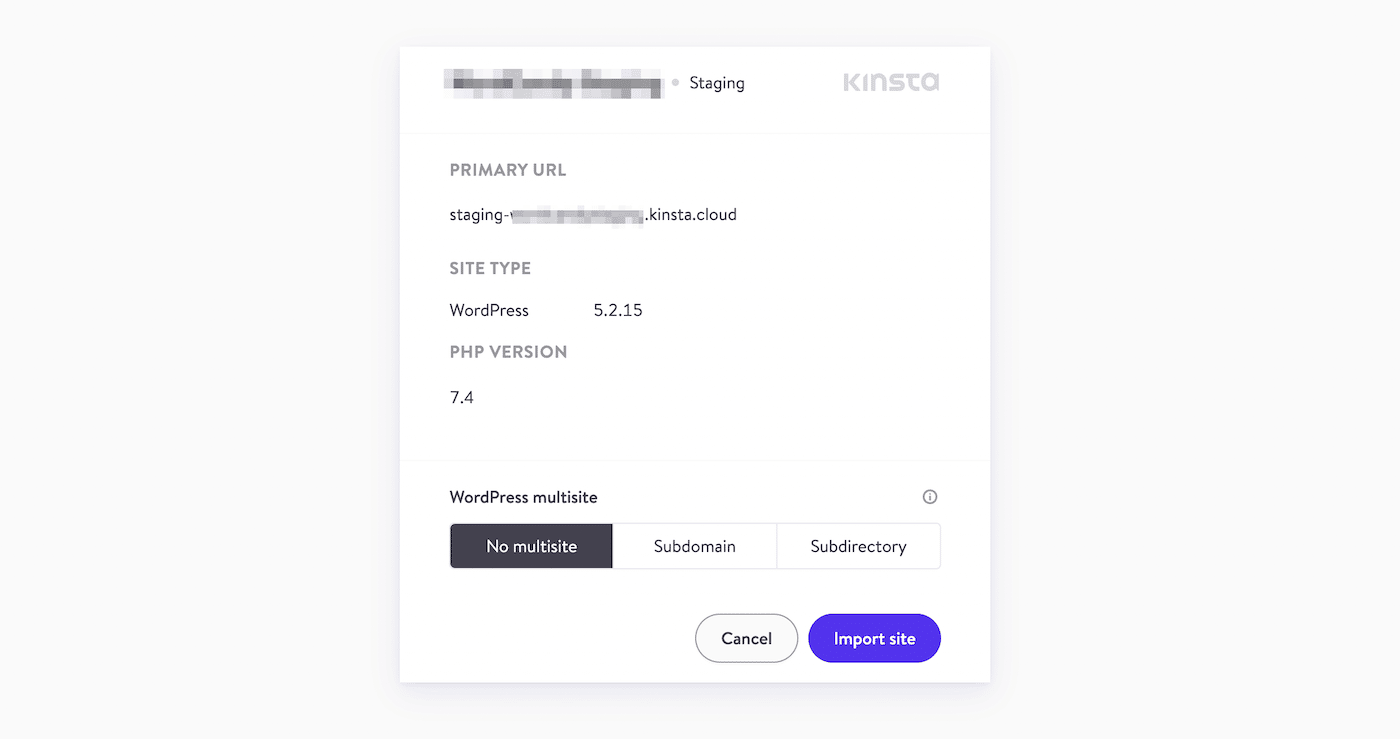
Then , select the website you want to clone to your computer. Since DevKinsta supports both staging and live environments, you can select either of them:

If it if the website is a multisite, indicate whether it uses a subdomain or a subdirectory. You can also select No Multisite:
After you import to site, DevKinsta will create a local copy of the site you selected.
Method 3: Add a custom site
See also: A step-by-step process on how to create your website on your own
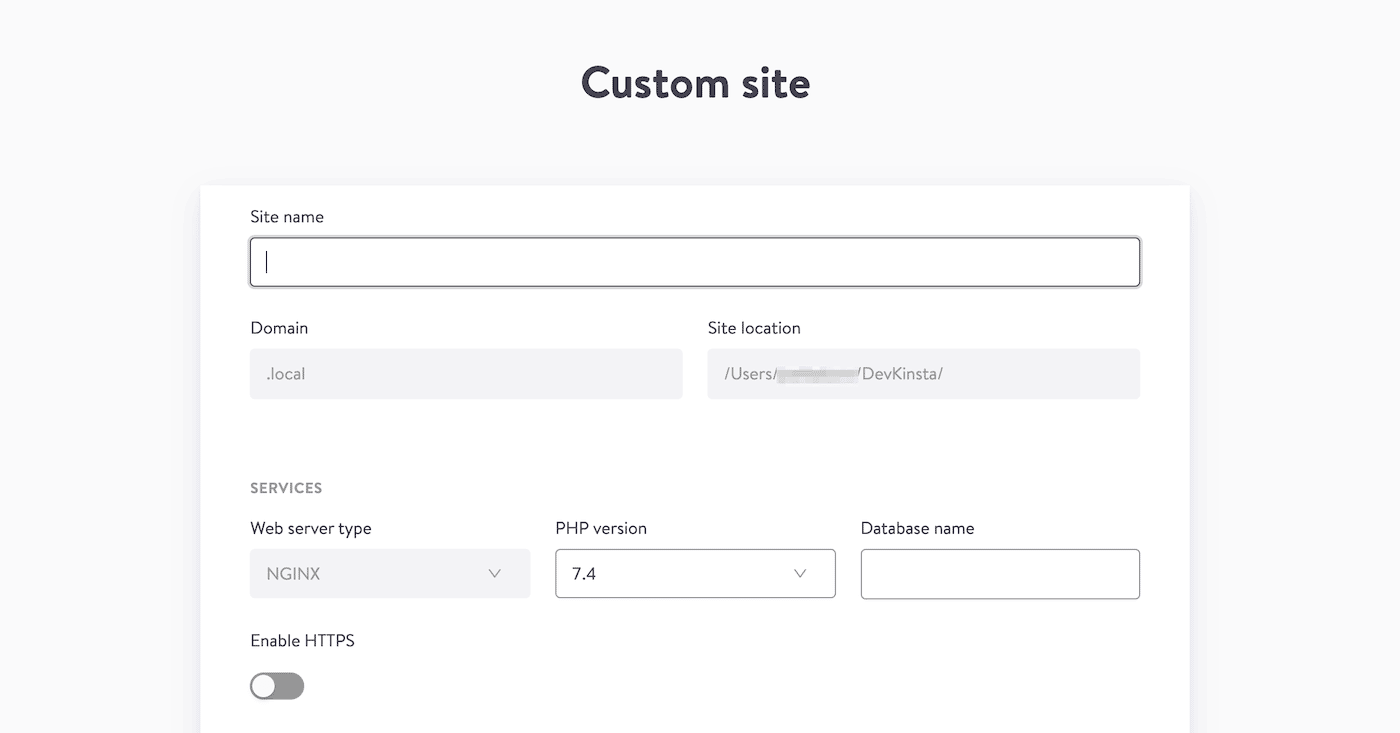
If you want more control over your local WordPress installation, you can select the Custom Website option. This allows you to configure certain settings for the site:
First choose a name for the website. You can also name the database and choose a PHP version:
Under WordPress Details you can also change the page title as WordPress version. Lastly, enter your admin email, username and password:

Once you create a website click , DevKinsta will add the domain to your hosts file and set up a new database. This should only take between 15 and 20 seconds.
Step 3: Manage your local website
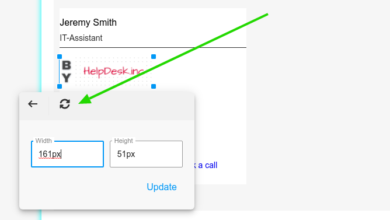
Once you’ve created a local website, you need to know how to and manage visits. This allows you to implement changes and evaluate their success. On the Websites page, click the arrow icon to open your website’s frontend:

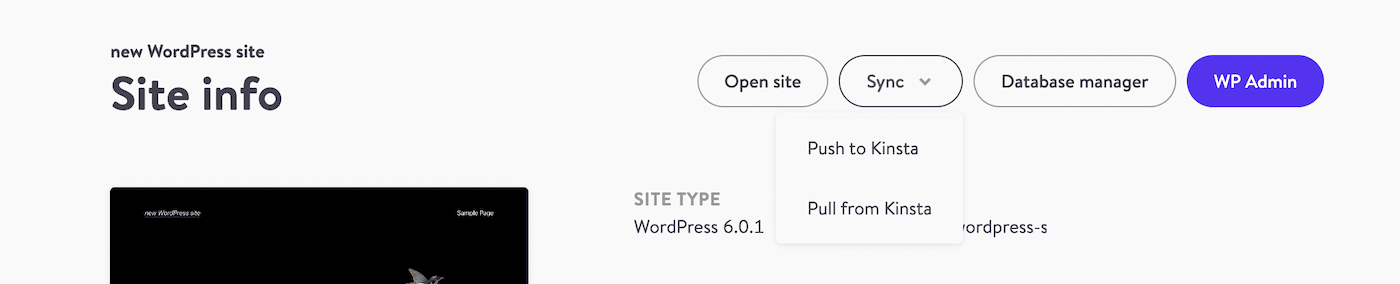
To go to your WordPress Go to the admin panel, select a site. Then, at the top of the Site Info page, locate the WP Admin button:

In the generated browser, you can enter your WordPress credentials.Then you can view and edit your site with your dashboard:

Once you’ve made changes, you can return to the DevKinsta site info page. By selecting Sync > Push to Kinsta, you can implement these developments on your staging or live site. Alternatively, you can also pull changes from Kinsta to this local environment:
If you click Database Manager, you can Launch Adminer in a browser tab. With this tool you can create new databases, examine data in a table, change column settings, run SQL queries and much more:

As a beginner, you only need one create local WordPress site. However, if you are a developer or work for an agency, you can build and manage multiple websites in DevKinsta.
In DevKinsta, each website runs in a containerized environment. This means you can add as many projects as you want. To do this, click Add Site on the home page:

By now you should have a new offline WordPress site and the tools you need need to adjust it! This can help you develop your website without Wi-Fi and avoid live coding errors.
No internet connection? No problem. 😌 Check out this guide on how to create an offline local version of your website 🛠Click to Tweet
Summary
After launching a local version of WordPress, you can open your website without it and manage an internet connection. When you’re back online, you can easily push your changes to your live site. This allows you to complete development tasks at any time.
With DevKinsta, installing a local WordPress environment can be a simple process. Download this free tool today to create an offline test site in just one click!
See also: How Long Does it Take to Design a Logo? A Peek Behind the Process
.